

Solar Panel Mounting Brackets: Types and How to Choose the Right One(2026)

Last Updated: October 21st, 2026
مؤلف: ديفي هوانغ | فريق المبيعات الدولية، ALV(عنوان البريد الإلكتروني:sales@xmalv.com)
ديفي هوانغ عضو في فريق المبيعات الدولية في شركة ALV، وهي شركة مصنعة لأنظمة تركيب الألواح الشمسية وقطاعات الألمنيوم. وهي تعمل مع مقاولي الهندسة والمشتريات والإنشاءات، والموزعين، ومطوري المشاريع في جميع أنحاء العالم، لمساعدة العملاء على اختيار حلول التركيب المناسبة بناءً على متطلبات المشروع، والمعايير المحلية، والميزانية.
Key Takeaways
- Match the bracket to the surface. Standing-seam clamps, trapezoidal-roof brackets, tile hooks, flat-roof supports, and ground-mount connections are not interchangeable.
- Check the load path, not just the bracket. Loads pass from the module clamps into rails, roof attachments or posts, and ultimately into the building structure or foundation.
- Verify local design loads. Wind uplift, snow accumulation, seismic requirements where applicable, and load combinations must be evaluated for the actual project location.
- Confirm compatibility. Module frame height, clamp zones, rail geometry, fasteners, roof warranty conditions, and electrical bonding all matter.
- Use project-specific engineering for commercial and utility projects. A catalogue image or a single bracket load value is not a substitute for a designed and documented mounting system.
What Are Solar Panel Mounting Brackets?
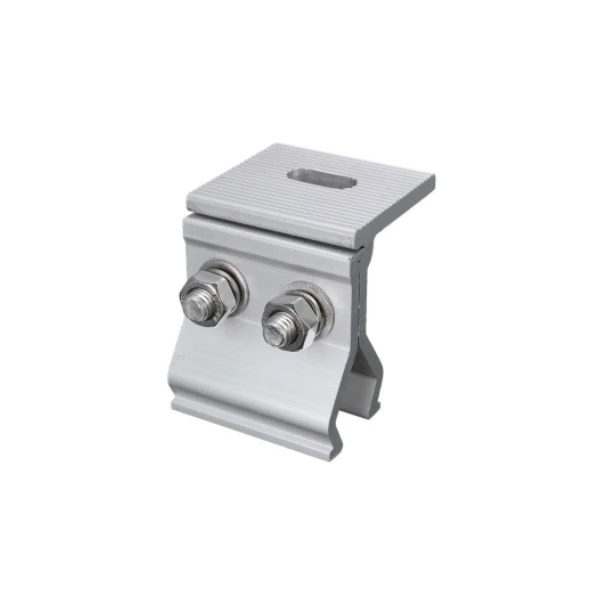
Solar panel mounting brackets are mechanical components that secure PV modules or their supporting rails to a roof or another structure. In everyday product listings, “bracket” can mean several different components: a roof attachment, a rail support, a module mid-clamp or end-clamp, or a structural connection in a ground-mount or carport system. These parts work together, but they perform different jobs.
The U.S. Department of Energy explains that PV arrays need mounting structures capable of supporting the array and withstanding wind, rain, hail, and corrosion over decades. The correct choice is therefore a system decision—not simply a hardware purchase. See the U.S. Department of Energy’s overview of PV system design.
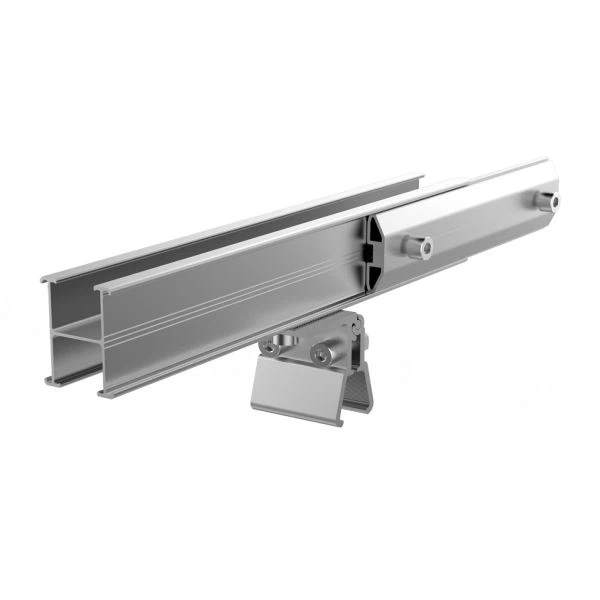
Main Types of Solar Panel Mounting Brackets1. Standing-Seam Metal Roof Clamps
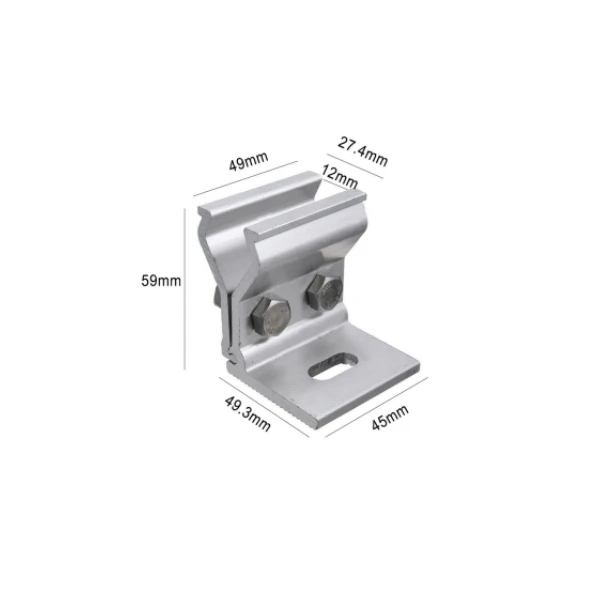
Standing-seam clamps grip a compatible raised seam to support rails or modules. On approved roof profiles, they can avoid drilling through the roof sheet. That can reduce roof penetrations, but “non-penetrating” does not automatically mean every clamp is suitable for every seam.
Best for: Standing-seam roofs where the roof manufacturer and clamp supplier approve the attachment method.
Check before specifying: seam shape and dimensions, seam material, clamp torque, rail span, module layout, wind uplift, and whether the roof manufacturer permits clamping. Do not overtighten the seam or use a clamp designed for a different profile.
Review ALV’s أنظمة تركيب على الأسطح for related rail and support options.
2. Trapezoidal and Corrugated Metal Roof Brackets
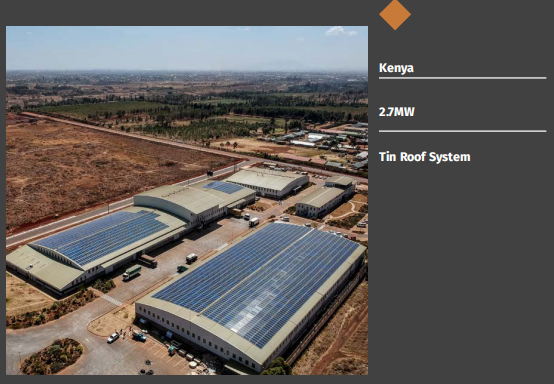
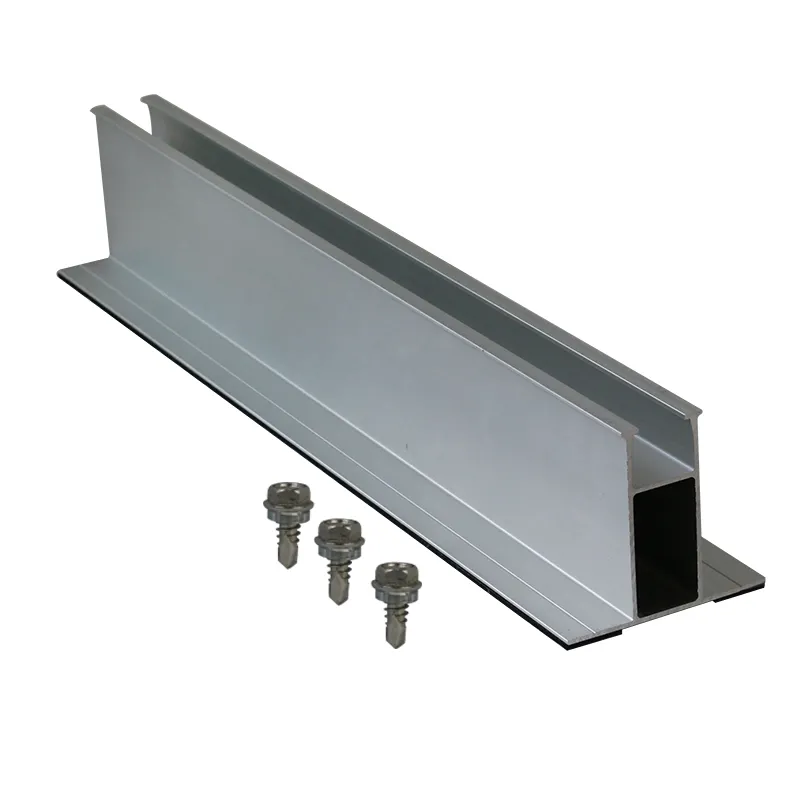
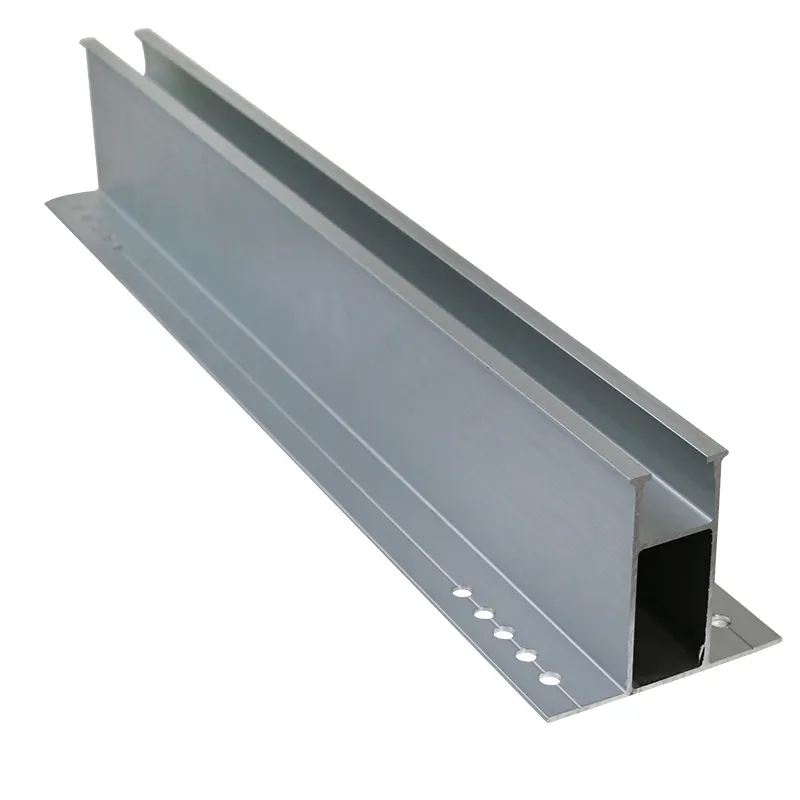
Metal sheet roofs with trapezoidal ribs or corrugations commonly use profile-matched brackets, short rails, mini-rails, or L-feet with approved fasteners and sealing washers. The attachment point and fastener pattern should suit the sheet profile and supporting purlins. Some designs are fixed at the crest; others use a different arrangement according to the roofing geometry and structural design.
Best for: Industrial, warehouse, agricultural, and commercial buildings with compatible profiled metal roofing.
Check before specifying: rib width and height, sheet thickness, purlin spacing, screw type and embedment, seal material, drainage paths, and the roof’s condition. Penetrating systems need a defined waterproofing detail and an installation process that protects the roof.
For more installation context, see ALV’s guide to solar mounting systems on metal roofs.
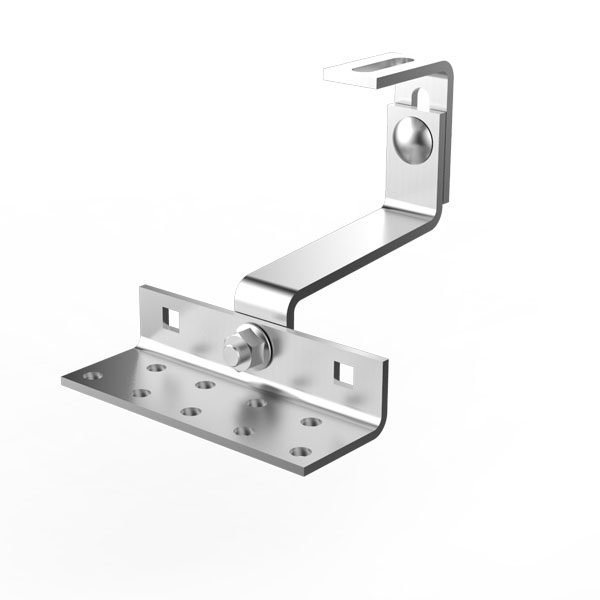
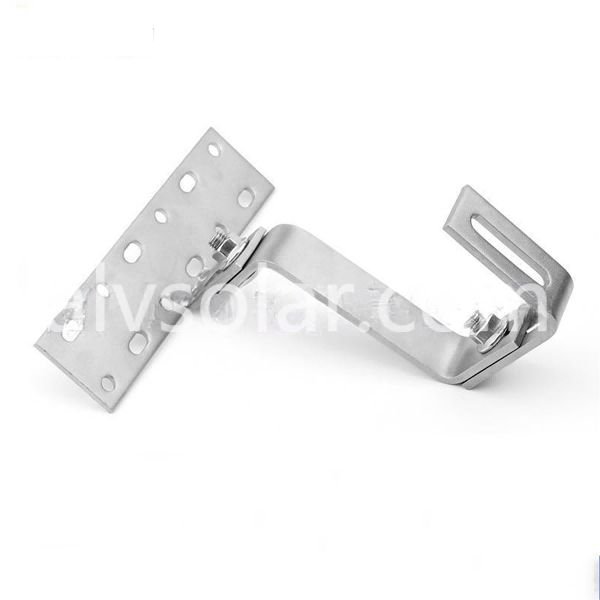
3. Tile Roof Hooks and Adjustable Tile Brackets
Tile-roof systems typically use a stainless-steel or otherwise suitable roof hook that transfers loads to the roof framing, with rails supporting the PV modules above the tile surface. Depending on the tile shape and roof layout, the installer may need to adjust the hook, modify a tile using an approved method, or use a flashing or tile-replacement component.
Best for: Compatible clay, concrete, or other pitched tile roofs where the roof structure can take the additional loads.
Check before specifying: tile profile and thickness, rafter location and condition, hook height, tile clearance, flashing, and whether the tile can be re-seated without cracking. The tile itself should not be assumed to be the structural anchor.
Explore ALV’s أنظمة تركيب على الأسطح and related tile-roof mounting guide.
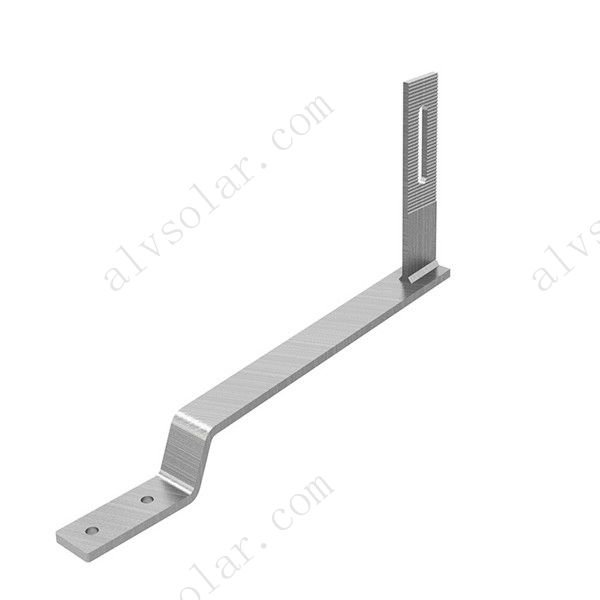
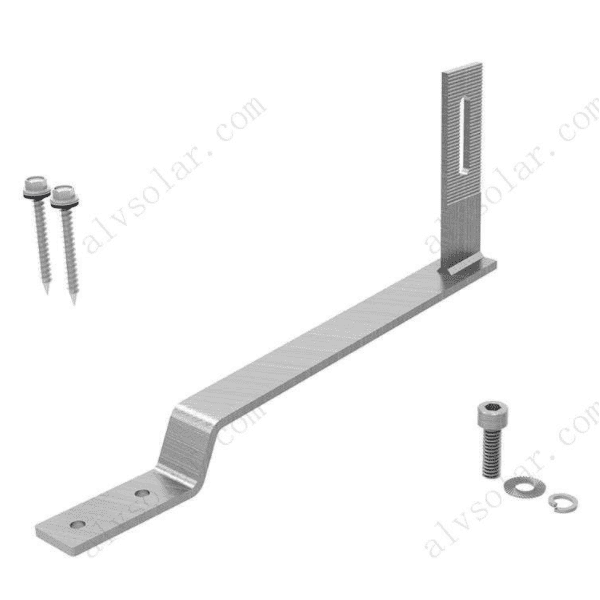
4. Flat-Roof Brackets and Ballasted Supports
Flat-roof mounting systems can use mechanically attached supports, ballast blocks, or a hybrid design. Ballasted systems use carefully calculated weight and friction to resist movement and uplift while minimizing or avoiding roof penetrations. However, ballast adds dead load and is not appropriate for every roof. Wind exposure, building height, parapets, edge and corner zones, roof membrane, drainage, and the roof structure all influence the design.
Best for: Suitable flat or low-slope roofs, particularly where roof penetrations are restricted and the building can support the system.
Check before specifying: allowable roof load, ballast quantity, wind design, roof-membrane compatibility, slip protection, drainage paths, fire access, and maintenance routes. Never assume a ballasted system is suitable without checking roof capacity and project-specific wind loads.
5. Mid-Clamps, End-Clamps, and Rail Connectors
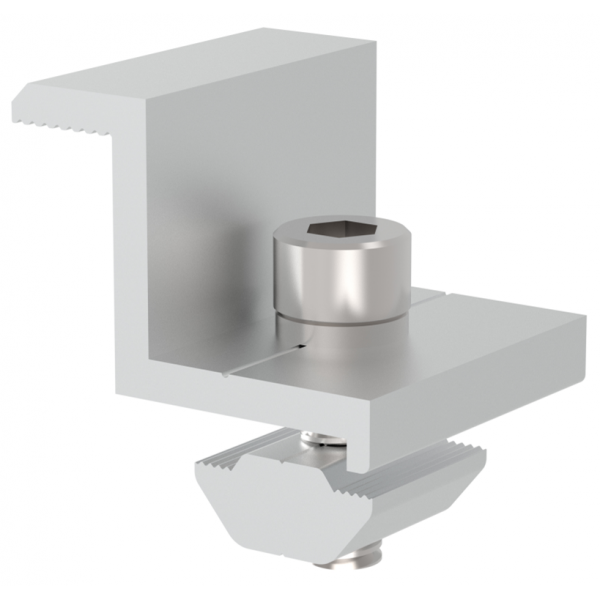
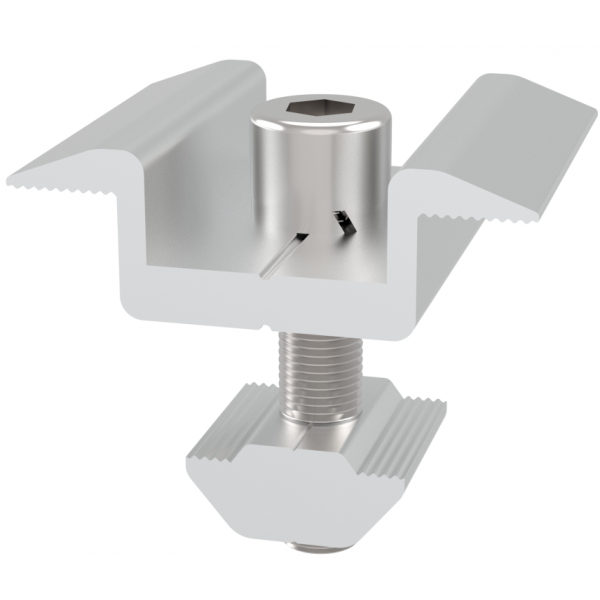
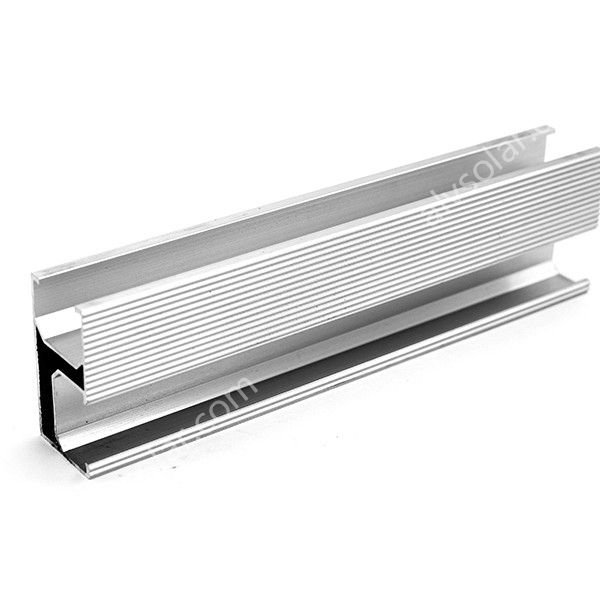
Mid-clamps secure the adjacent edges of two modules along a shared rail; end-clamps secure a module at the end of a row. Rail connectors join compatible rail sections. These parts are not roof attachments: they secure the module-to-rail interface and must work with the selected module frame and rail profile.
Best for: Most framed-module systems that use rails, including roof and ground-mounted arrays.
Check before specifying: module frame thickness, manufacturer-defined clamp zones, clamp height, torque, rail slot compatibility, and the system’s tested configuration. A clamp that physically fits may still be unsuitable if it falls outside the module manufacturer’s permitted clamping zone.
See ALV’s solar mounting accessories.
6. Ground-Mount Brackets and Structural Connections
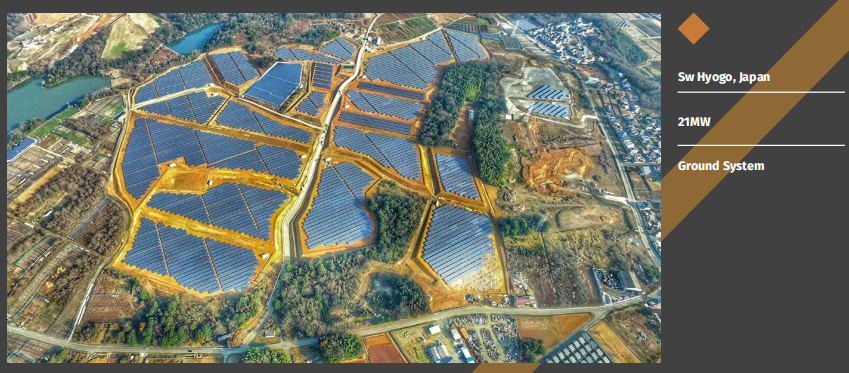
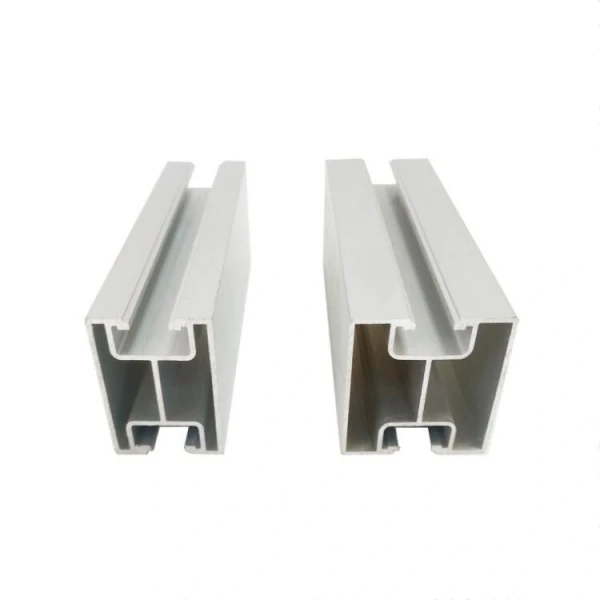
Ground-mounted arrays use brackets and connectors to join module rails to cross-members, beams, posts, piles, ground screws, or foundations. Aluminum components can help reduce weight and improve handling, while galvanized-steel structures may be appropriate for some large projects and load cases. The best choice depends on spans, terrain, soil or foundation conditions, corrosion exposure, installation method, and project economics.
Best for: Residential, commercial, agricultural, and utility-scale systems where roof space is unsuitable or more layout flexibility is required.
Check before specifying: soil and foundation data, post spacing, tilt and orientation, terrain, wind and snow loads, steel coating requirements, galvanic compatibility, and installation equipment. Compare the complete system rather than the price of one bracket.
Browse ALV’s أنظمة تركيب الأسماءand read ground mount vs. roof mount for application trade-offs.
7. Solar Carport Brackets and Canopy Connections
Solar carports combine a PV support structure with a canopy over parking or other covered areas. Their connections must account for the module table, beams and columns, vehicle clearance, drainage, access, foundations, and wind loads. Because the structure can be exposed and elevated, a bracket selected for a small rooftop array should not be assumed suitable for a carport.
Best for: Commercial parking areas, workplaces, retail sites, fleet depots, and other locations where solar generation can share space with vehicle shelter.
Check before specifying: clear height, parking geometry, column locations, drainage, foundation design, corrosion category, maintenance access, and the local structural code. For carports, ask for the structural drawings and design assumptions alongside the component list.
Comparison Table: Which Bracket Fits Your Project?
| Bracket or support type | Typical surface | Main advantage | Main risk or limitation | Key information needed |
| Standing-seam clamp | Raised-seam metal roof | Can avoid roof-sheet penetration on approved seams | Seam or clamp incompatibility; seam distortion | Seam profile, roof maker, wind loads, clamp approval |
| Trapezoidal/corrugated bracket | Profiled metal sheet | Direct attachment matched to roof geometry | Water ingress or weak sheet/purlin connection if detailed incorrectly | Rib geometry, sheet thickness, purlin spacing, fastener details |
| Tile roof hook | Pitched tile roof | Supports rails above the tiles and transfers load to framing | Tile damage, wrong hook height, poor flashing | Tile profile, rafter locations, roof condition |
| Ballasted support | Flat or low-slope roof | May avoid roof penetrations | Extra dead load, wind uplift, movement, drainage conflict | Roof capacity, wind zones, membrane, ballast calculation |
| Mid-/end-clamp | Module-to-rail interface | Secures module frames to compatible rails | Wrong clamp height or clamping zone | Module frame, clamp zone, rail slot, torque |
| Ground-mount connection | Ground rack, post, pile, or foundation | Flexible layout and structural options | Foundation, soil, span, or corrosion mismatch | Site survey, soil/foundation, loads, tilt, materials |
| Carport connection | Elevated canopy structure | Combines solar generation and covered parking | Elevated wind exposure, clearance and foundation complexity | Geometry, clearance, drainage, loads, foundation design |
How to Choose the Right Solar Panel Mounting Bracket
Step 1: Identify the Exact Mounting Surface
Start with the roof or foundation—not the module. Record whether the surface is standing-seam metal, trapezoidal or corrugated sheet, tile, concrete, or a flat-roof membrane. For ground mounts and carports, identify the main structural member and foundation method. Photos, roof drawings, and actual measurements help avoid confusing visually similar profiles.
Step 2: Verify the Complete Structural Load Path
The load path runs from the module frame through mid/end clamps, rails, brackets, roof attachments or posts, and into the building structure or foundations. A strong clamp cannot compensate for a weak roof sheet, insufficient purlin connection, undersized rail, or unsuitable foundation. Have a qualified designer verify the system for the site and applicable code.
For U.S. projects, ASCE/SEI 7-22provides design-load criteria for hazards including wind, snow, rain, ice, seismic activity, and load combinations. The applicable edition and local building code should be confirmed with the project engineer and authority having jurisdiction; other markets may use different national or regional standards.
Step 3: Calculate Wind and Snow Loads for the Actual Site
Do not select brackets using wind speed alone or a generic snow-load value from a product listing. Structural design may depend on building height, exposure, roof edge and corner zones, array setback, tilt, terrain, surrounding buildings, and local code parameters. Snow can also accumulate unevenly at module edges.
The U.S. Department of Energy advises checking the module’s static-load rating for the specific mounting configuration and accounting for non-uniform snow loads. See its guidance on solar PV hardening for winter weather.
Ask the supplier or engineer for the design assumptions and the calculation/report relevant to the actual layout. A stated pressure rating for an individual component is not the same as a verified allowable load for the complete installed array.
Step 4: Check Module and Rail Compatibility
Collect the module manufacturer and model, dimensions, frame thickness, orientation, weight, and permitted clamp zones. Confirm that the clamps match the frame and rail slot, and that the rail spans, overhangs, splice positions, fasteners, and torque values follow the system design. For frameless modules or unusual module sizes, only use mounting details approved for that product.
Step 5: Choose Materials for the Environment
Aluminum rails and brackets are lightweight and can offer good corrosion resistance; steel can be appropriate where structural spans, loads, or overall system economics favor it. Stainless-steel fasteners and suitable coatings are commonly selected for exposed connections, but the grade and finish must match the environment and the design.
Coastal, marine, industrial, and high-humidity environments need special attention. Confirm coating specification, material grade, fastener grade, drainage, and electrical isolation where dissimilar metals could create galvanic-corrosion concerns. Avoid assuming that “aluminum” or “stainless steel” alone guarantees a particular service life.
Step 6: Consider Waterproofing, Roof Warranty, and Maintenance
For roofs, define every penetration and sealing detail before installation. A seam-clamp system may avoid penetrations when used on a compatible roof profile, while other systems rely on fasteners, flashing, or sealing washers. Follow both the roofing manufacturer’s requirements and the mounting-system instructions. Also check drainage, access paths, cleaning, replacement of modules, and safe maintenance.
Step 7: Review Standards, Testing, and Documentation
Request installation instructions, technical drawings, material specifications, load calculations, corrosion/coating information, traceability, and applicable test or certification documents. Do not treat every standard as interchangeable:
- ASCE/SEI 7-22 provides structural loading criteria commonly used in U.S. building design. The engineer must confirm which edition and local code apply.
- IEC 62548-1:2023+A1:2025 specifies design requirements for PV arrays, including wiring, electrical protection, and earthing provisions. It is not a stand-alone substitute for project-specific structural calculations. See the official IEC publication.
- UL 2703 addresses PV mounting systems, mounting and clamping devices, and grounding lugs, including relevant roof and ground-mounted system requirements and rooftop fire-classification considerations. Confirm the exact listed module/racking configuration and local requirements with the UL Solutions overview.
Certifications and test reports apply within defined scopes. Ask what exact model, material, module, mounting configuration, and jurisdiction each document covers.
Step 8: Compare Total Installed Cost, Not Only Unit Price
A lower-cost bracket may require more labor, extra flashing, custom adapters, additional parts, or site modifications. Compare the complete bill of materials, installation time, packaging and delivery, engineering documents, warranty terms, replacement availability, and project-specific accessories. For commercial or repeated installations, a design that speeds up assembly and reduces installation errors may be more economical over the full project.
Information to Send a Supplier for an Accurate Recommendation
For a useful first review, share as much of the following as possible:
- Project country, city, and site location; applicable wind, snow, seismic, and corrosion conditions if known.
- Roof type and profile, roof drawings, sheet thickness, purlin spacing, or ground/foundation details.
- PV module brand and model, dimensions, frame thickness, weight, quantity, and portrait/landscape orientation.
- Array layout, tilt, rail spans, roof setbacks, and any required access or drainage paths.
- Expected installation date, project quantity, delivery destination, and any required structural calculations or certifications.
- Photos of the roof and mounting surface, plus CAD drawings or a preliminary layout when available.
A supplier can often screen compatibility with these inputs, but final bracket quantities, spacing, fasteners, and allowable loads should be confirmed through the project’s structural design and installation instructions.
Common Mistakes to Avoid
- Choosing by roof appearance alone. Similar-looking metal roofs can have different seams, rib geometries, thicknesses, and support spacing.
- Assuming “non-penetrating” means universally compatible. A seam clamp must be matched to the exact profile and approved attachment method.
- Ignoring the underlying structure. Attachments need to transfer load into framing, purlins, posts, or foundations—not just a thin surface layer.
- Using a generic load rating as a project calculation. Wind and snow demand change by site and geometry, and component ratings may not represent the entire rack.
- Mixing unverified components. Rails, clamps, fasteners, grounding parts, and modules need compatible and documented combinations.
- Leaving waterproofing and corrosion details until installation. Specify penetrations, flashings, coatings, material interfaces, and maintenance access before procurement.
الأسئلة الشائعة
1.Which solar panel mounting bracket is best for a metal roof?
It depends on the roof profile. Compatible standing-seam roofs may use clamps that grip the seam without penetrating the sheet. Trapezoidal or corrugated roofs commonly use profile-matched brackets, short rails, or approved fastener systems. Confirm roof dimensions, structural support, waterproofing details, and wind loads before selecting a model.
2.Do solar panel mounting brackets need to penetrate the roof?
Not always. Approved standing-seam clamps can avoid penetration on compatible seams. Other metal-roof systems may use fasteners and sealing washers, while tile-roof hooks generally need a structural attachment and proper flashing. The roof type, system design, and roofing manufacturer’s requirements determine the correct method.
3.Are aluminum or steel solar mounting brackets better?
Neither is universally better. Aluminum can reduce weight and offer good corrosion resistance, while steel may be suitable for certain long-span or large ground-mounted structures. Evaluate the design loads, span, material grade, coating, environment, installation method, and total installed cost together.
4.Can one bracket fit every solar panel?
No. Bracket and clamp compatibility depends on the module frame, frame height, permitted clamping zone, rail geometry, orientation, and the mounting system’s tested configuration. Always check the module manufacturer’s installation instructions.
5.How should solar mounting brackets be selected for coastal projects?
Review the corrosion environment, material and fastener grades, coatings, drainage, dissimilar-metal interfaces, and maintenance plan. A coastal installation may need more stringent material and coating specifications than an inland project. Ask for evidence covering the exact material/finish rather than relying on a generic “corrosion-resistant” claim.
6.What wind and snow load should a solar bracket withstand?
There is no single value that applies to every project. The required design depends on the site, applicable code, building height and exposure, array geometry, roof zones, tilt, and combinations of loads. The structural engineer should check the complete mounting system, attachment points, and supporting structure.
7.What standards should I ask a solar mounting supplier about?
For U.S. projects, ask how the system is designed for the applicable building code and ASCE/SEI 7 loading criteria, and whether UL 2703 applies to the proposed module/racking configuration. IEC 62548-1 covers PV-array design requirements including electrical protection and earthing. The relevant standards and evidence depend on the project jurisdiction and scope.
8.What information helps a supplier quote the right bracket?
Send roof or foundation details, site location, module model and dimensions, array layout, expected quantities, loading requirements, corrosion exposure, delivery destination, and any drawing or certification requirements. Clear photos and CAD files can help the supplier identify compatibility issues earlier.
Choose Solar Mounting Brackets for Your Actual Project
The right solar panel mounting bracket is the one that fits the mounting surface, is compatible with the PV module and rails, transfers the required loads into a suitable structure, and meets the project’s corrosion, waterproofing, code, and installation requirements. Start with the roof profile or foundation details, verify the loading assumptions, and review the complete mounting assembly before placing an order.
ALV supplies solar mounting solutions and aluminum profiles for rooftop, ground-mounted, and carport projects, with standard and customized options depending on project requirements. Explore our أنظمة تركيب على الأسطح, أنظمة تركيب الأسماء، وmounting accessories with your roof profile, module datasheet, layout, and site conditions for a project review.
Solar Panel Mounting Brackets: Types and How to Choose the Right One(2026)
E-mail address:sales@xmalv.com