

How to Install Solar Panels on a Flat Roof: A Complete Guide(2026)

Last Updated: October 12th, 2026
Autor: Devi Huang | Equipo de Ventas Internacionales, ALV(Dirección de correo electrónico:sales@xmalv.com)
Devi Huang forma parte del equipo de ventas internacionales de ALV, fabricante de sistemas de montaje solar y perfiles de aluminio. Colabora con contratistas EPC, distribuidores y promotores de proyectos en todo el mundo, ayudando a los clientes a elegir las soluciones de montaje más adecuadas según los requisitos del proyecto, las normativas locales y el presupuesto.
Can Solar Panels Be Installed on a Flat Roof?
Yes. Flat roofs are particularly suitable for solar installations because the panel orientation and tilt can be designed independently of the roof slope.
Common solutions include ballasted mounting systems, mechanically attached systems, and hybrid systems. The appropriate option depends on the roof construction, allowable additional load, wind conditions, membrane type, project location, and local building requirements.
NREL notes that ballasted systems can avoid roof penetrations, but they add weight to the roof and therefore require careful structural and wind-load evaluation. For flat or low-slope roofs, low-tilt configurations are commonly used to reduce wind exposure.
Step 1: Inspect the Flat Roof Before Installation
The first step is not installing the rails—it is understanding the roof.
Check the roof membrane, structural deck, insulation, drainage paths, parapets, existing equipment, roof age, and available load capacity. Pay particular attention to areas around HVAC equipment, skylights, drains, and roof edges.
For existing commercial buildings, the solar mounting system should not block drainage or create concentrated loads that could damage the roofing system.
NREL reports that ballasted PV systems can add approximately 3–8 lb/ft² (about 15–39 kg/m²) depending on tilt angle and wind loading. This additional dead load must be considered during structural design.
Step 2: Choose the Right Flat Roof Mounting System
There is no single mounting solution that is ideal for every flat roof. The choice should be based on engineering requirements rather than simply selecting the lowest-cost rack.
| Mounting type | Typical application | Main advantage | Main consideration |
| Ballasted | Commercial/industrial flat roofs | Usually avoids roof penetrations | Adds significant roof load |
| Mechanically attached | Roofs with suitable structural attachment points | Lower ballast requirement | Requires waterproofed penetrations |
| Hybrid | Projects with structural or wind constraints | Balances attachment and ballast | More detailed engineering |
| Aluminum rail system | Commercial, industrial and coastal projects | Lightweight and corrosion-resistant | Material and structural design must be matched |
For projects where roof penetration is undesirable, ALV can provide flat roof mounting solutions designed around the roof type, module dimensions, array layout, wind conditions, and required tilt angle.
The important point is that “non-penetrating” does not mean “no engineering required.” Ballasted systems still need structural verification and wind-load calculations.
Step 3: Calculate Wind and Snow Loads
Wind is one of the most important design factors for flat roof PV systems because the panels can behave like aerodynamic surfaces.
The design should consider the project’s location, building height, roof geometry, exposure category, parapets, roof zones, wind speed, panel tilt, array spacing, and mounting configuration.
In the United States, ASCE/SEI 7-22 provides provisions for building loads, including wind and snow loads. Chapter 7 specifically addresses ground snow loads, flat-roof snow loads, exposure factors, thermal factors, and minimum snow loads for low-slope roofs.
For international projects, the applicable structural standard may instead include Eurocode EN 1991 or local building codes.
A recent full-scale study published in the Journal of Wind Engineering and Industrial Aerodynamics found that dynamic wind effects can significantly amplify loading on ballasted PV arrays, particularly at higher wind speeds. This reinforces why ballast quantities should come from project-specific engineering rather than a fixed rule of thumb.
Step 4: Determine Panel Orientation and Tilt
Flat roofs provide flexibility because the PV mounting structure determines the module orientation.
For a typical fixed-tilt system, the designer needs to consider:
- Project latitude and longitude
- Desired azimuth
- Panel tilt angle
- Row spacing
- Inter-row shading
- Roof area
- Wind loading
- Maintenance access
- Drainage
- Annual energy production
Lower tilt angles can reduce wind exposure and allow more modules to fit within a given roof area. However, the optimum angle is project-specific.
NREL’s best-practice guidance notes that ballasted systems are commonly designed at relatively low tilt angles, often around 10°, with some systems using higher angles depending on their aerodynamic design.
Step 5: Select the Mounting Material
Material selection affects weight, corrosion resistance, installation efficiency, and system life.
| Material | Strengths | Typical consideration | Suitable applications |
| Aluminum | Lightweight, corrosion-resistant, easy to handle | Requires appropriate structural design | Rooftops, coastal areas, commercial roofs |
| Stainless steel | Excellent corrosion resistance and high strength | Higher material cost | Fasteners, clamps, demanding environments |
| Galvanized steel | High structural strength and cost efficiency | Heavier than aluminum | Large or heavily loaded structures |
| Aluminum + stainless steel | Lightweight structure with corrosion-resistant connections | Requires correct material compatibility | Premium rooftop systems |
For rooftop projects, ALV focuses on aluminum mounting solutions where low structural weight, corrosion resistance, and installation efficiency are important.
In coastal environments, corrosion protection deserves particular attention. ISO 9227:2022defines standardized salt-spray test methods for evaluating the corrosion resistance of metallic materials and protective coatings. However, salt-spray test results should not be interpreted as a direct prediction of real-world service life.
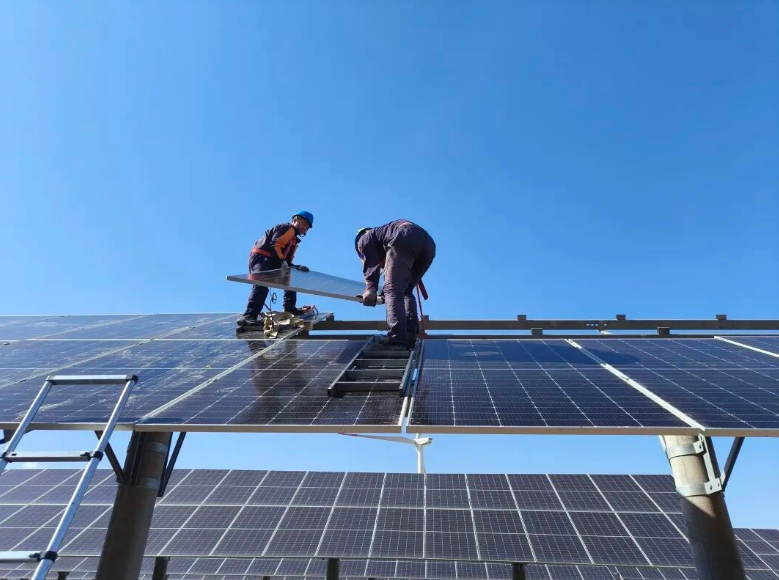
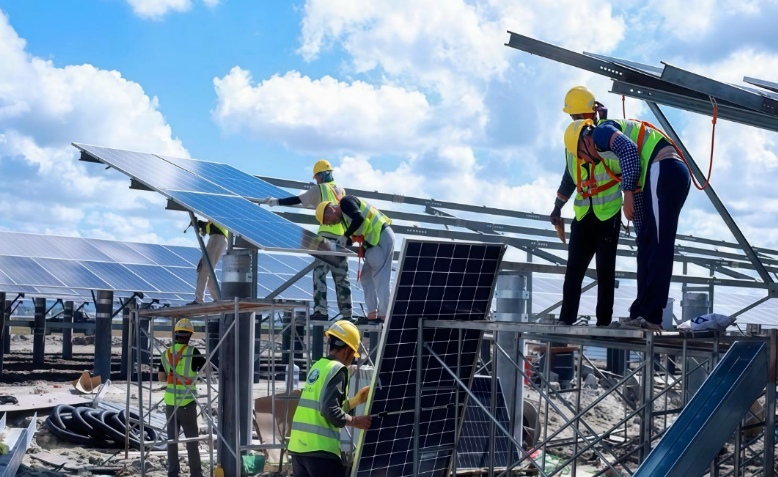
Step 6: Install the Flat Roof Mounting Structure
Once the engineering design is approved, installation normally follows this sequence:
- Mark the PV array according to the approved layout.
- Identify roof drains, expansion joints and restricted areas.
- Install protective layers or pads where required.
- Position the mounting bases or ballast trays.
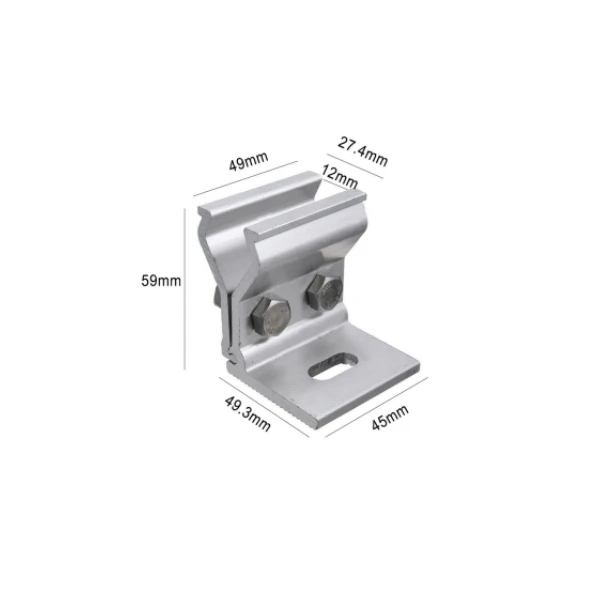
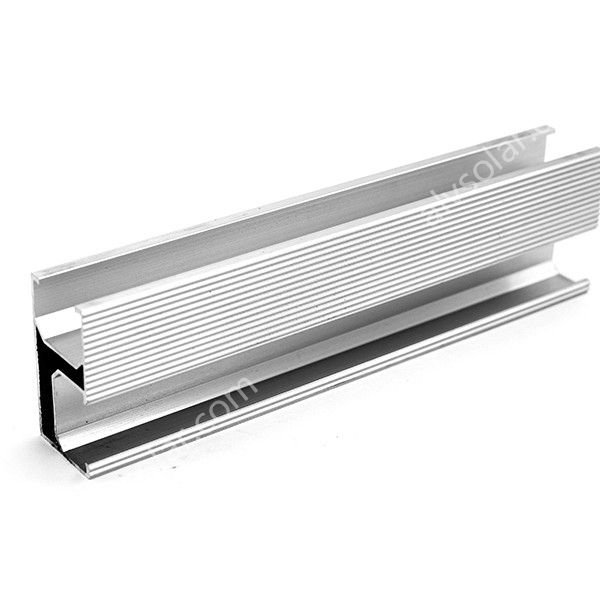
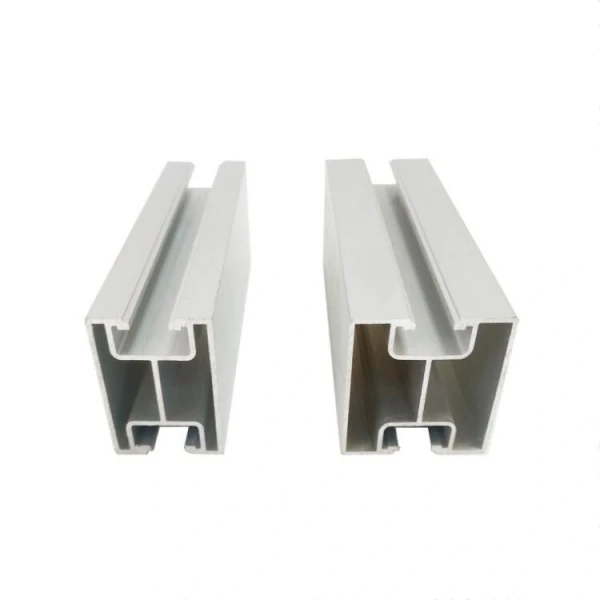
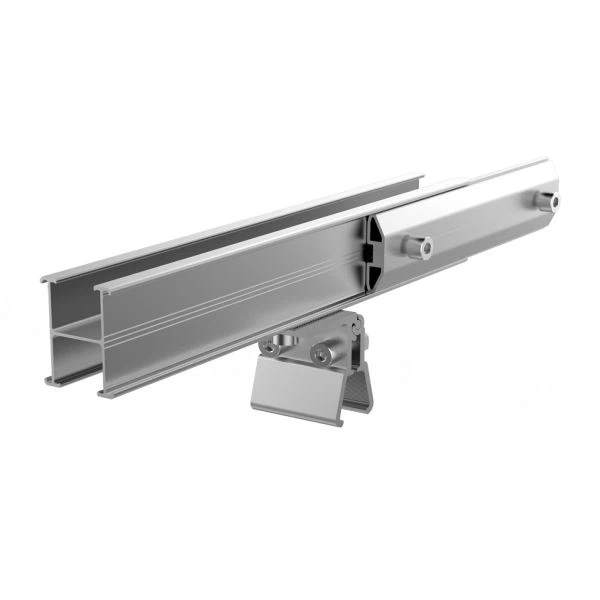
- Assemble rails, triangular frames or module supports.
- Install ballast according to the engineering design.
- Check alignment, spacing and tilt.
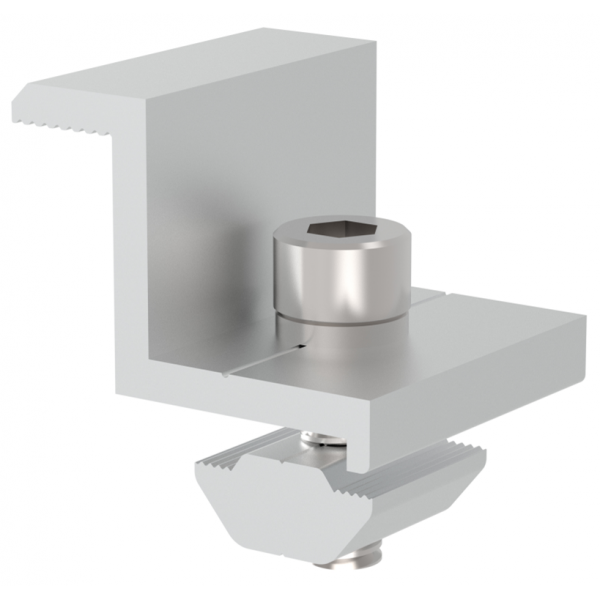
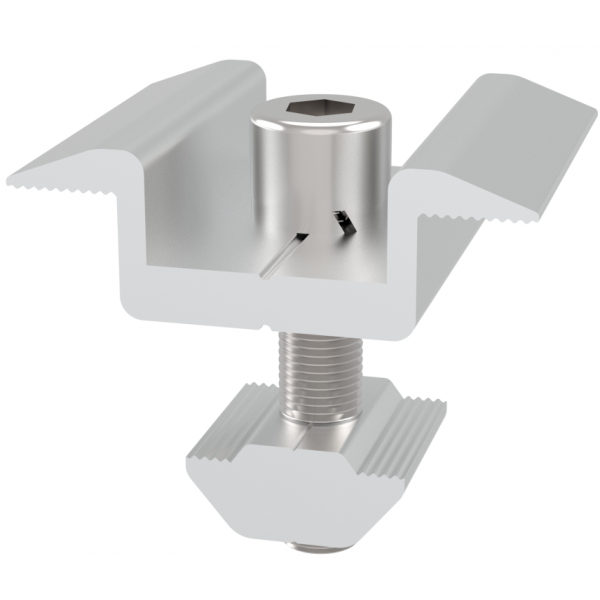
- Install module clamps.
- Mount and secure the PV modules.
- Complete electrical bonding, grounding and cable management.
Installation teams should avoid dragging metal components across the roof membrane. Protective interfaces should be installed according to the roofing and mounting-system requirements.
Step 7: Install and Secure the Solar Panels
Place each module according to the approved layout and manufacturer-approved clamping zones.
Incorrect clamp positioning can damage a module frame or reduce its mechanical performance. The installer should therefore follow both the PV module manufacturer’s installation instructions and the mounting-system manufacturer’s specifications.
For ALV systems, module dimensions, frame height, clamp type, rail configuration and array layout should be confirmed before final production.
This is especially important when projects use large-format modules, bifacial modules or unusual module dimensions.
Step 8: Complete Grounding, Wiring and Inspection
The mechanical installation is only one part of a complete PV system.
Electrical design should address DC wiring, overcurrent protection, isolation, grounding, bonding and cable management. The current international reference for PV array design is IEC 62548-1:2023 with Amendment 1:2025, which includes requirements covering PV array wiring, protection, switching, earthing and related safety considerations.
UL 2703 is also relevant in the U.S. market for PV mounting systems, mounting devices, clamps and grounding components, including requirements associated with rooftop PV fire classification.
Before commissioning, inspect:
- Module clamp positions
- Fastener torque
- Ballast placement
- Structural alignment
- Roof protection
- Cable routing
- Grounding and bonding
- Drainage paths
- Clearance around roof equipment
What Is the Best Flat Roof Solar Mounting System?
The best solution depends on the building and project conditions rather than the mounting material alone.
For a roof with limited structural reserve, reducing additional ballast may be important. For a roof where penetrations are acceptable and structurally accessible, mechanically attached mounting may be appropriate. For coastal or corrosive environments, aluminum and corrosion-resistant connection components can provide practical advantages.
ALV evaluates factors such as roof type, module size, project location, wind and snow loads, roof load capacity, tilt angle, layout, and installation requirements before recommending a mounting configuration.
This project-specific approach is more reliable than selecting a standard mounting kit based only on roof area.
Flat Roof Solar Installation Checklist
Before ordering a mounting system, prepare:
| Project information | Why it matters |
| Project location / latitude & longitude | Determines environmental design conditions |
| Roof type and membrane | Determines mounting and protection method |
| Roof structural capacity | Determines allowable additional load |
| Wind speed / wind load | Determines fixing and ballast requirements |
| Snow load | Determines structural requirements |
| Module brand and dimensions | Determines clamps and rail layout |
| Module quantity | Determines system size and material quantity |
| Roof layout drawing | Determines array positioning |
| Desired tilt and orientation | Affects energy yield and wind exposure |
| Roof photos | Helps identify practical installation constraints |
| Drainage and rooftop equipment | Prevents access and maintenance conflicts |
Preguntas frecuentes
1. Can solar panels be installed directly on a flat roof?
Yes, but they should not simply be placed directly on the roof surface. A dedicated mounting structure is normally required to provide the correct orientation, tilt, mechanical support and protection.
2. Do flat roof solar panels need to be drilled into the roof?
Not necessarily. Ballasted systems can hold the PV array using designed ballast rather than roof penetrations. However, the additional weight and wind resistance must be verified for the specific building.
3. How much weight does a ballasted solar system add?
NREL reports that ballasted systems may add approximately 3–8 lb/ft² (15–39 kg/m²) depending on tilt and wind loading. Actual ballast requirements vary significantly by project.
4. What tilt angle is best for flat roof solar panels?
There is no universal optimum. Around 10° is common for some ballasted systems because lower tilt can reduce wind loading and increase module density, but the final angle should consider latitude, energy yield, wind, roof area and drainage.
5. Is aluminum suitable for flat roof solar mounting?
Yes. Aluminum is widely used for PV mounting because it combines relatively low weight with good corrosion resistance. It can be particularly useful where installation efficiency and corrosion resistance are important.
6. What standards should flat roof solar mounting systems follow?
The applicable standards depend on the market. Examples include IEC 62548-1 for PV array design, ASCE/SEI 7-22 for structural loading in the U.S., and UL 2703 for relevant U.S. PV mounting-system requirements.
7. How do I choose between ballasted and mechanically attached mounting?
Start with the roof structure, membrane, wind conditions and building requirements. Ballasted systems can avoid penetrations but add weight; mechanically attached systems can reduce ballast but require properly designed roof connections and waterproofing.
8. What information does ALV need to design a flat roof solar mounting system?
ALV typically needs the project location, roof type, roof layout or drawings, module dimensions and quantity, roof slope, desired orientation and tilt, wind and snow loads, and any structural limitations. Roof photos are also useful for identifying installation constraints.
Final Thoughts
Installing solar panels on a flat roof is not simply a matter of placing modules at an angle and adding ballast. The mounting system must be designed around the roof structure, environmental loads, module specifications, waterproofing, drainage, installation method and applicable standards.
For commercial and industrial projects, early coordination between the EPC contractor, structural engineer, roofing specialist and mounting-system manufacturer can prevent costly redesigns later.
Planning a flat roof solar project?
Contacto ALV with your roof drawing, module information and project location. Our team can review the project requirements and help develop a suitable PV mounting solution for your application.
How to Install Solar Panels on a Flat Roof:
A Complete Guide(2026)
E-mail address:sales@xmalv.com