Step-by-Step Guide to Installing a Ground Mount Solar System


Nous sommes prêts à vous répondre immédiatement ! Inscrivez-vous pour une consultation gratuite.
Je consens au traitement des données personnelles et j'accepte les conditions d'utilisation et la politique de confidentialité.
Choose the location with maximum sun exposure, away from trees, buildings, and shadows. South-facing is ideal in the Northern Hemisphere. Measure the area to determine space required based on the number of solar panels and tilt angle. Assess soil type and stability; some soils may require deeper foundations.
Decide the panel layout, considering spacing for maintenance and airflow. Optimize tilt angle and orientation based on your location. Plan electrical design including inverter placement, wiring paths, and connection to the main power supply.
Apply for building and electrical permits. Some areas may require HOA approval. Notify your utility if connecting the system to the grid.
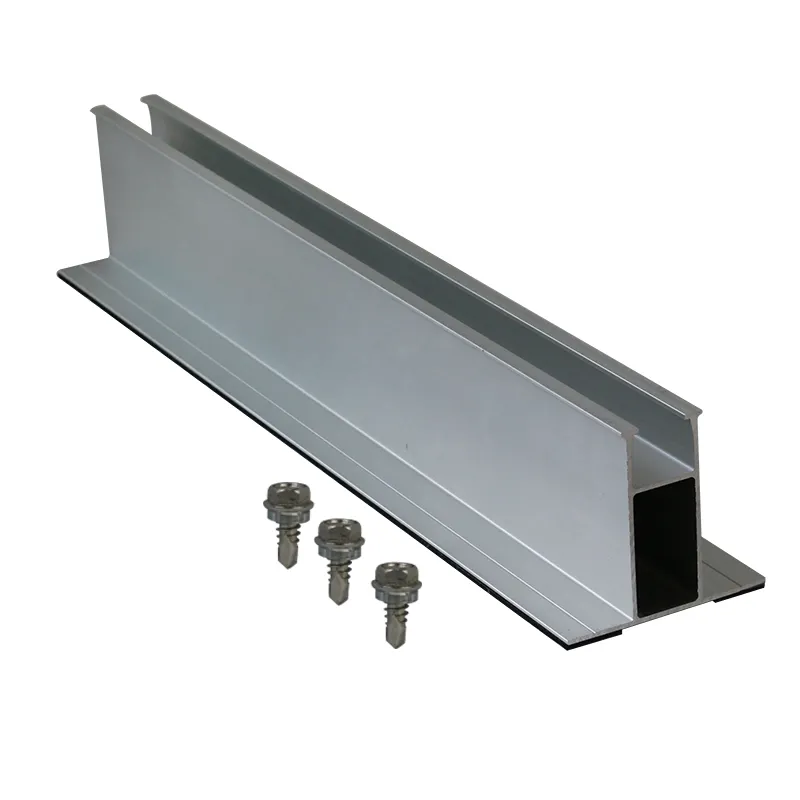
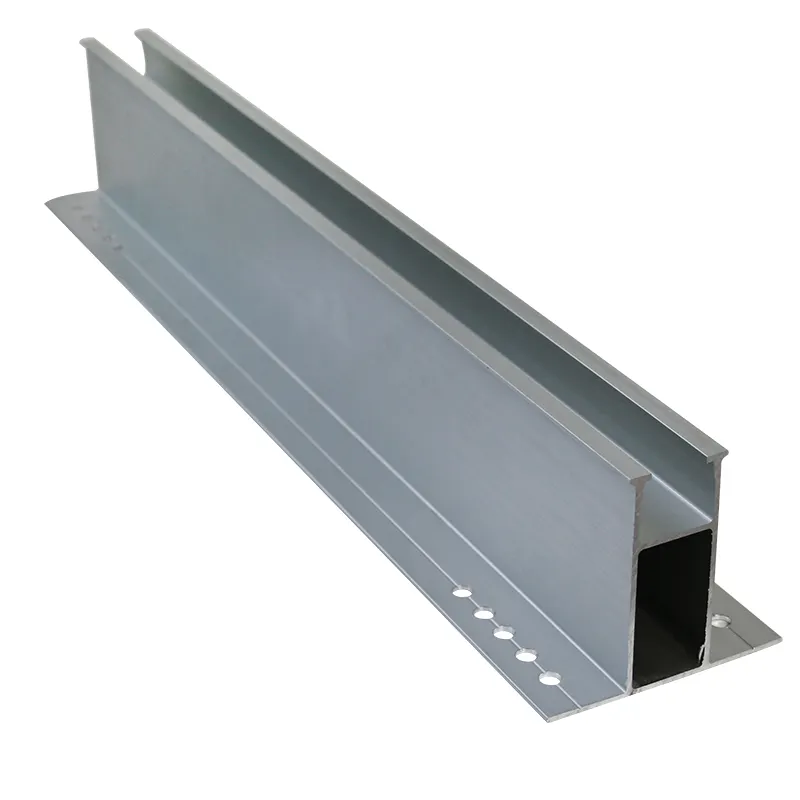
Mark the layout using stakes and strings. Level the ground if necessary. Install foundations: dig holes and pour concrete footings or use ground screws/anchors depending on soil type.
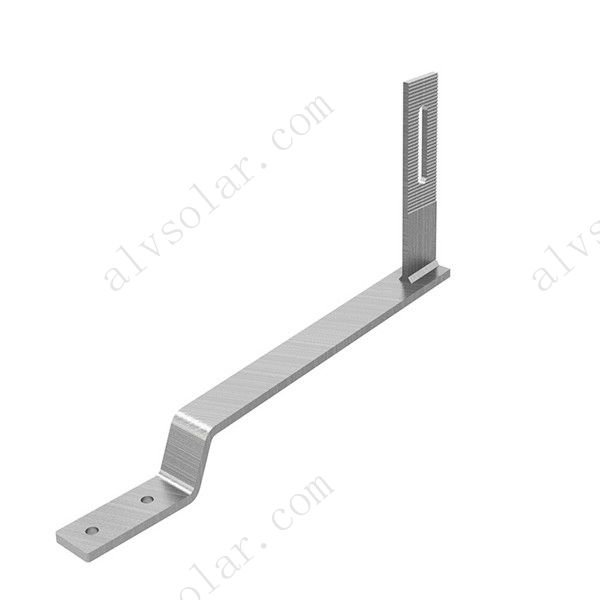
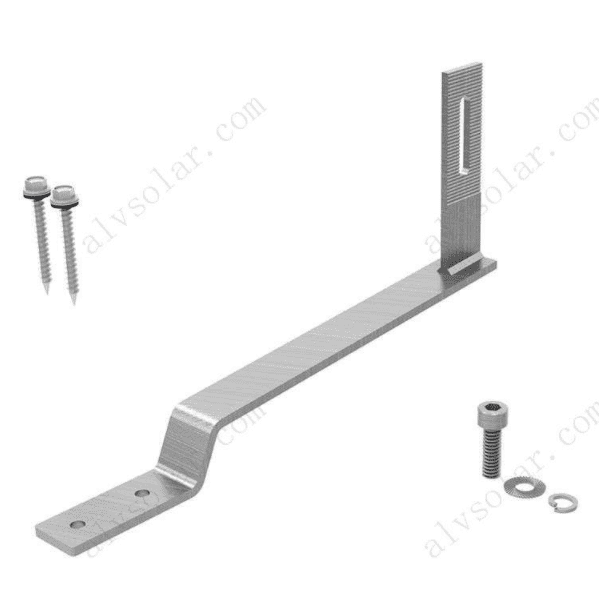
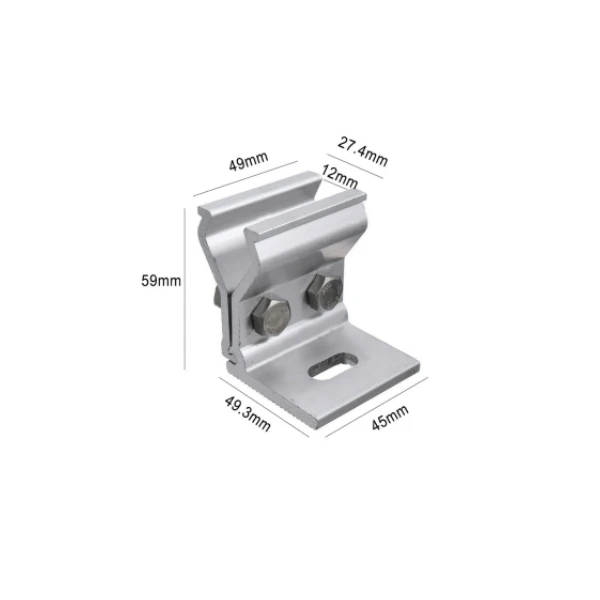
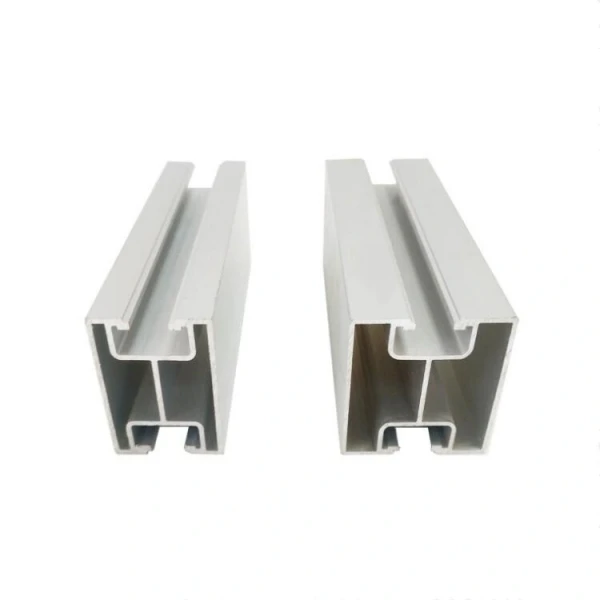
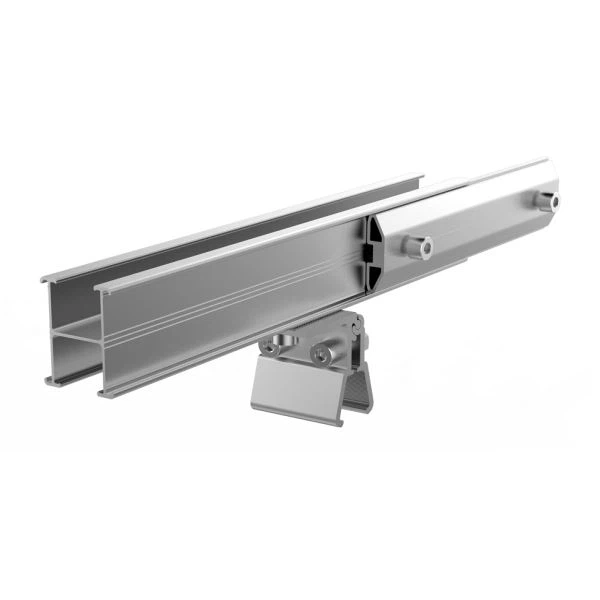
Assemble rails and frames according to manufacturer instructions. Secure the structure to the footings or anchors. Ensure alignment is correct at the desired tilt angle.
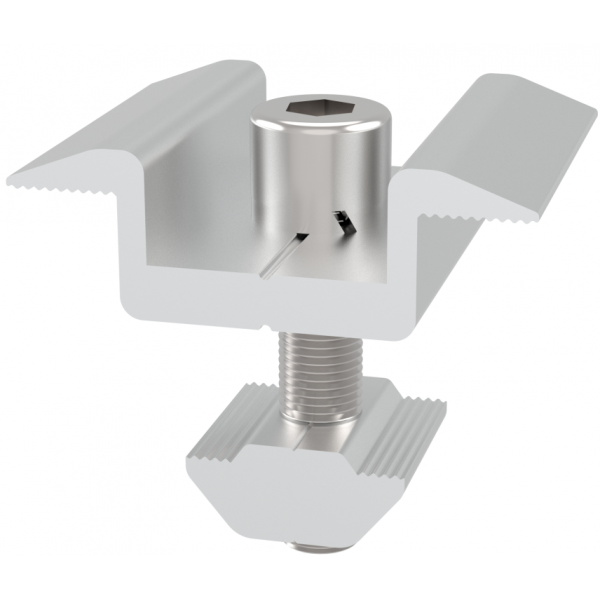
Mount each panel onto the rails using clamps. Secure panels tightly and evenly. Route wiring according to inverter requirements, keeping cables organized.
Combine strings in combiner boxes if needed. Connect DC cables from panels to inverter and AC cables to the breaker panel. Install grounding, fuses, disconnect switches, and surge protection.
Check all connections, ensure wiring is tight and insulated. Test the system by turning on the inverter and monitoring voltage, current, and energy output.