

Standing Seam Metal Roof Solar Mounting: A Complete Guide(2026)

Last Updated: November 16th, 2026
Author: Деви Хуанг | International Sales Team, АЛВ(E-mail address:sales@xmalv.com)
Devi Huang is part of the international sales team at ALV, a manufacturer of solar mounting systems and aluminum profiles. She works with EPC contractors, distributors, and project developers worldwide, helping customers choose the right mounting solutions based on project requirements, local standards, and budget.
Standing seam metal roof solar mounting is a popular solution for commercial, industrial, agricultural, and residential photovoltaic (PV) projects. By using specially designed seam clamps, aluminum mounting rails, and module clamps, solar installers can often mount PV modules without drilling through the metal roofing panels.
For building owners, this approach can help reduce roof penetrations and simplify installation. For EPC contractors and solar installers, selecting a compatible mounting system is essential to achieving reliable attachment, managing wind loads, protecting the roof assembly, and controlling installation costs.
This guide explains how standing seam roof solar mounting systems work, how to select the right components, and which technical factors should be evaluated before installation.
1. What Is a Standing Seam Metal Roof Solar Mounting System?
A standing seam metal roof solar mounting system is designed to attach photovoltaic modules to the raised seams of metal roofing panels.
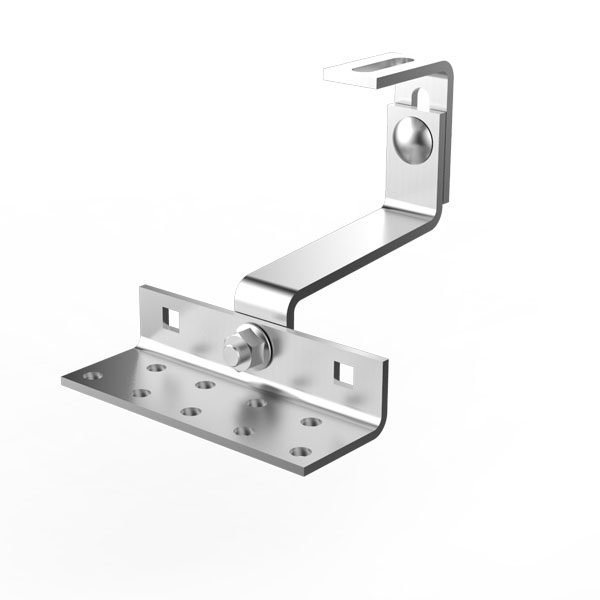
Unlike conventional metal roof mounting systems that may require drilling into the roof and attaching brackets to the underlying structure, compatible standing seam clamps grip the raised roof seams mechanically. These clamps can support mounting rails or, where an approved system allows, attach PV modules directly.
A typical rail-based system includes:
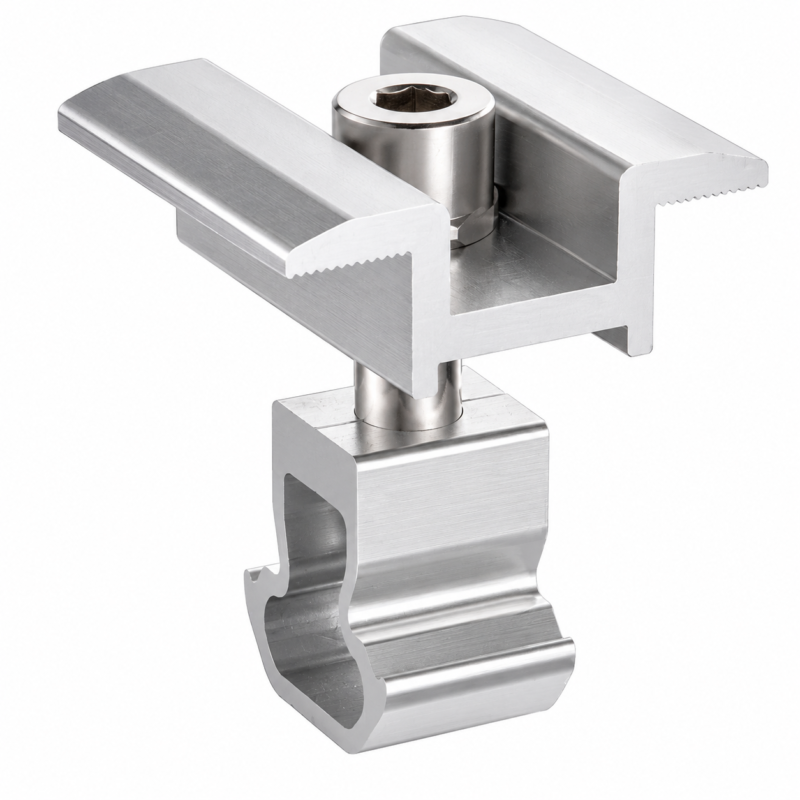
- Standing seam roof clamps: Connect the mounting system to compatible raised roof seams.
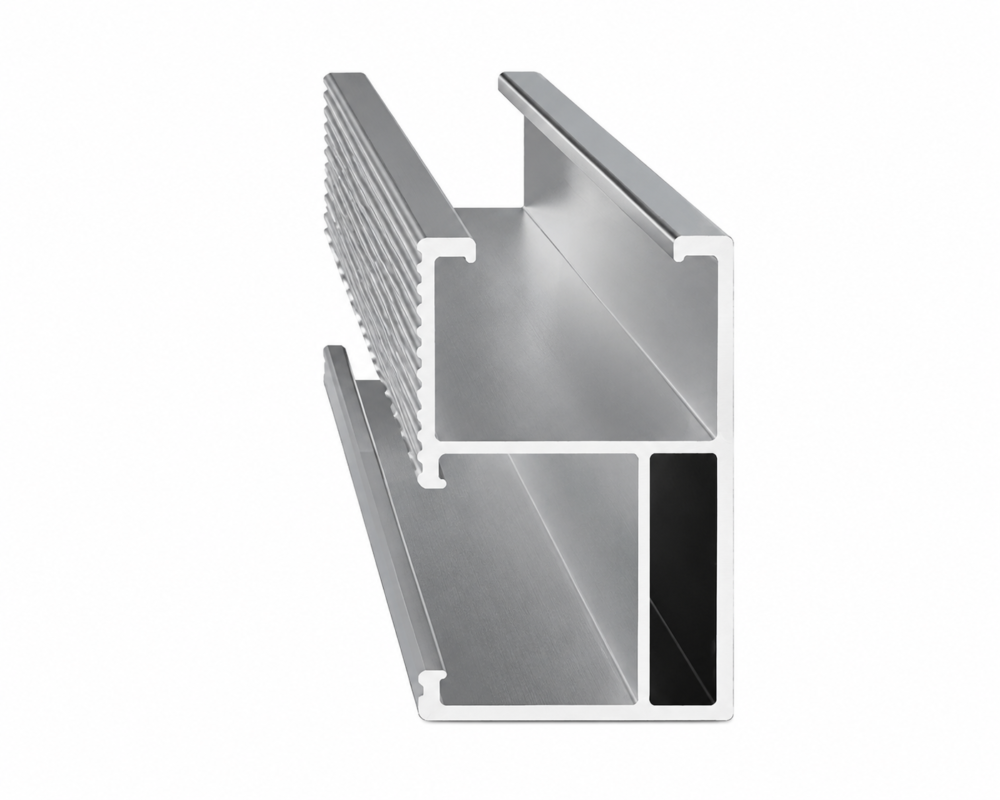
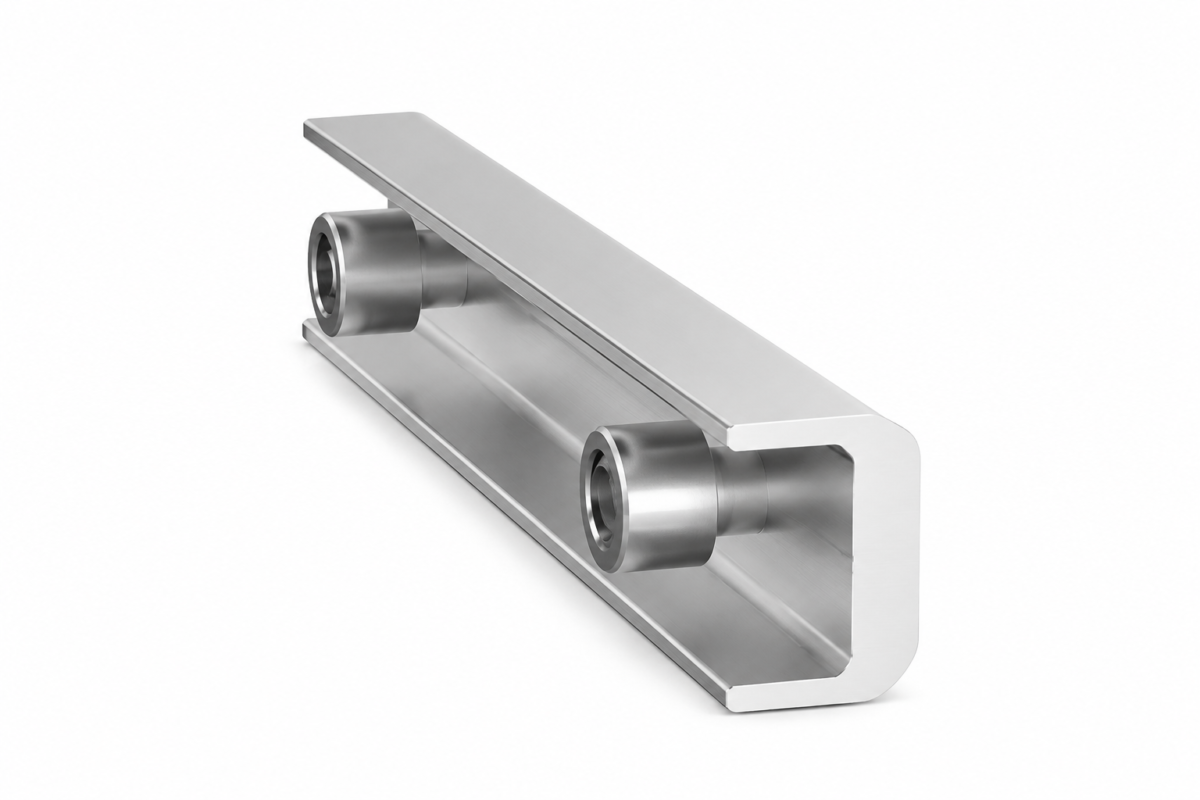
- Aluminum mounting rails: Support the PV modules and distribute loads between attachment points.
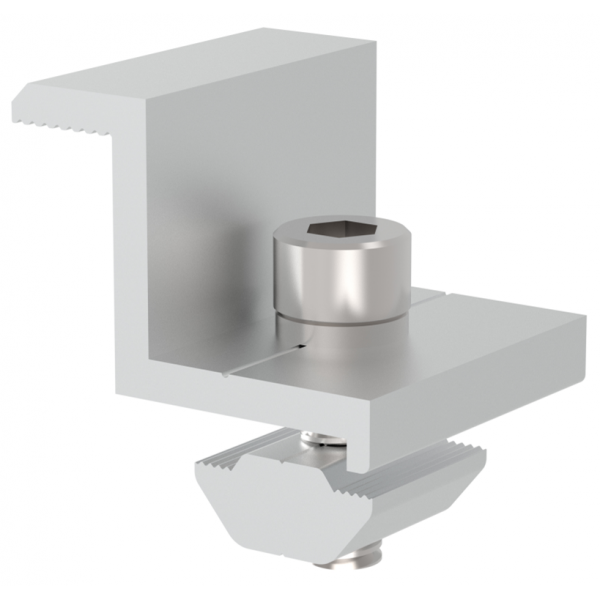
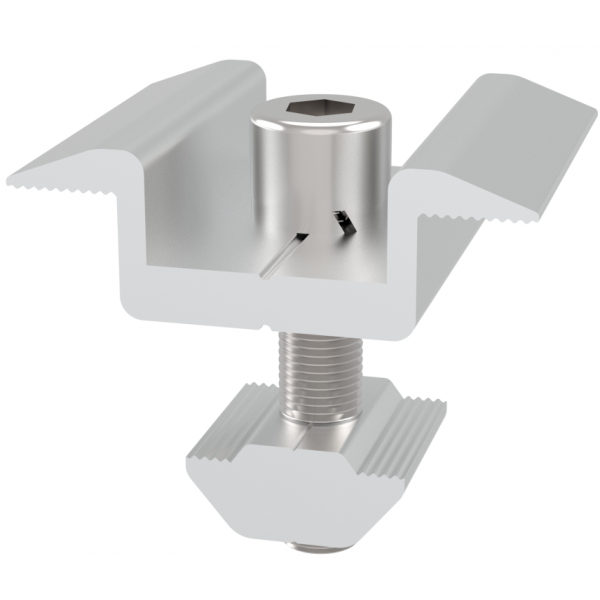
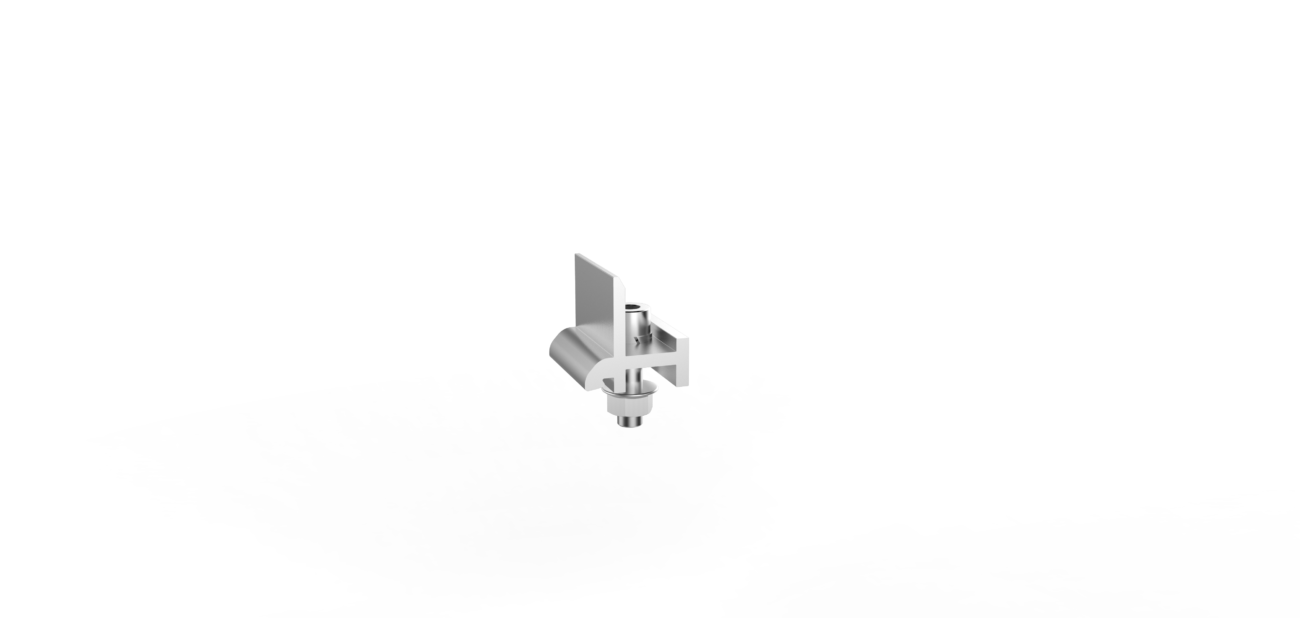
- Mid clamps and end clamps: Secure module frames to the rails.
- Bolts and fasteners: Connect system components according to the manufacturer’s specifications.
- Grounding and bonding components: Provide the required electrical bonding path where applicable.
The exact configuration depends on the roof seam profile, metal thickness, module dimensions, design loads, and mounting system specifications.
2. Why Is Standing Seam Metal Roofing Suitable for Solar Panels?
Standing seam metal roofs offer several practical advantages for rooftop PV installations.
2.1 Non-Penetrating Attachment Options
One of the main advantages of standing seam roofing is that compatible clamps can attach to raised seams without creating new holes through the roofing panels.
This can reduce the number of potential water-entry points and help preserve the roof’s weatherproofing system.
However, non-penetrating mounting does not automatically guarantee a leak-free roof or preserve every roof warranty. The clamp must be approved for the specific seam profile, and the installation must comply with the roofing manufacturer’s requirements.
2.2 Efficient Installation
When the correct clamps and rails are selected in advance, installers can often avoid drilling, flashing, and sealing each mounting point through the roof panels.
This can simplify installation and reduce on-site labor. Actual time savings depend on roof geometry, array layout, access conditions, and the mounting system used.
2.3 Compatibility with Commercial and Industrial Buildings
Standing seam metal roofs are commonly found on warehouses, factories, agricultural buildings, logistics facilities, and other commercial structures.
Their large roof areas can provide opportunities for substantial rooftop solar installations, subject to structural capacity, shading, access, and electrical requirements.
2.4 Durable Material Options
Aluminum mounting rails offer a favorable combination of low weight, corrosion resistance, and ease of handling.
For projects in coastal or humid environments, material selection and galvanic compatibility are particularly important. Aluminum components, fasteners, and roof materials must be evaluated as a complete assembly rather than selected independently.
3. Types of Standing Seam Metal Roofs
Not every standing seam roof is compatible with every solar clamp. Identifying the roof profile is one of the most important steps in system selection.
3.1 Snap-Lock Standing Seam Roofs
Snap-lock panels use raised seams that connect through a snap-fit mechanism. They are often used in architectural and commercial roofing applications.
Before selecting a clamp, verify the seam height, width, shape, panel thickness, and manufacturer-approved attachment method. Some snap-lock profiles may be unsuitable for particular clamp designs.
3.2 Mechanical Seam Roofs
Mechanical seam panels are joined by folding or mechanically seaming adjacent panel edges. Common configurations include single-lock and double-lock seams.
These profiles may provide suitable attachment points, but compatibility must be confirmed for each specific seam geometry and metal thickness.
3.3 Batten Seam and Other Raised-Seam Profiles
Some metal roofs use batten-style seams or other raised profiles that differ from conventional snap-lock and mechanically seamed systems.
A clamp designed for one seam type should not be assumed to fit another. Custom or specialized attachments may be necessary.
Key takeaway: Always identify the exact roof seam profile before selecting solar mounting clamps. A photograph is useful for initial screening, but roof drawings, profile dimensions, and manufacturer information provide a more reliable basis for selection.
4. Main Components of a Standing Seam Solar Mounting System
4.1 Standing Seam Roof Clamps
Roof clamps transfer loads from the mounting structure to the raised roof seams. Their compatibility and mechanical holding capacity are critical to the overall system.
When evaluating clamps, consider:
- Compatible roof seam profiles and dimensions.
- Permitted roofing materials and metal thicknesses.
- Published holding-strength or load-test data.
- Manufacturer-specified fastener torque.
- Corrosion resistance and material compatibility.
- Whether the clamp is approved for the intended rail or direct-mount configuration.
A clamp’s holding capacity must be supported by relevant test data and engineering documentation. Do not assume that visually similar clamps have equivalent performance.
4.2 Aluminum Solar Mounting Rails
Aluminum rails provide the structural interface between roof attachments and PV modules.
A suitable rail should offer adequate bending strength, stiffness, connection compatibility, and corrosion resistance for the intended project.
Rail selection depends on the distance between roof attachments, module dimensions, clamp positions, design loads, and the manufacturer’s engineering calculations.
For commercial rooftop projects, rail optimization can help balance material usage, structural performance, and installation efficiency.
4.3 Mid Clamps and End Clamps
Mid clamps secure adjacent PV modules, while end clamps secure modules at the ends of a row.
Clamp dimensions and engagement requirements must match the module frame and rail channel. The module manufacturer’s permitted clamping zones must also be followed.
4.4 Fasteners and Bonding Components
Fasteners must be appropriate for the mounting system, expected loads, and exposure conditions.
Electrical grounding and bonding must be addressed in accordance with the applicable electrical code and the listed or approved mounting system configuration. Mechanical attachment alone does not establish electrical compliance.
5. How to Choose the Right Standing Seam Roof Solar Mounting System
Choosing the right system requires more than matching a clamp to a roof profile.
Step 1: Identify the Roof Profile
Collect the roof panel manufacturer’s information, profile drawing, seam dimensions, metal thickness, and material specification.
If drawings are unavailable, provide clear photographs and measured dimensions for an initial compatibility review.
Step 2: Assess Roof Condition and Structural Capacity
Inspect the roof for corrosion, deformation, loose panels, damaged seams, and signs of water intrusion.
Confirm the capacity of the roof panels, concealed clips, purlins, and supporting structure to resist the additional loads introduced by the PV array.
A strong clamp cannot compensate for an inadequately supported roof panel or an insufficiently designed roof attachment.
Step 3: Confirm Wind and Snow Loads
The mounting system must be designed for the project’s location and applicable building codes.
Wind pressure and uplift can vary with building height, roof zones, roof geometry, exposure, surrounding terrain, and local wind requirements. Snow loads depend on location, roof geometry, and applicable design provisions.
Use the applicable local code and the relevant edition of standards such as ASCE/SEI 7 in the United States. Do not use a generic clamp spacing or wind-pressure value as a substitute for project-specific engineering.
Step 4: Select the Rail Configuration
Determine whether a conventional rail-based system or an approved rail-free arrangement is more appropriate.
The decision should account for module orientation, attachment spacing, roof seam positions, structural calculations, installation workflow, and maintenance access.
Step 5: Check Corrosion and Material Compatibility
Review the roof material, rail alloy and finish, clamp material, fasteners, and environmental exposure.
Coastal projects and sites exposed to industrial pollutants may require additional attention to corrosion resistance and dissimilar-metal contact.
Step 6: Review Documentation and Compliance
Before installation, verify the mounting system’s applicable test reports, installation instructions, engineering calculations, grounding and bonding documentation, and required certifications.
Product certifications and listings must apply to the actual system configuration and intended jurisdiction.
6. Standing Seam Solar Mounting: Installation Process
A typical installation follows these stages. The exact sequence must follow the mounting system manufacturer’s instructions.
Step 1: Inspect and Prepare the Roof
Confirm that the roof is suitable for installation and that the roof panel manufacturer permits the proposed attachment method.
Identify roof access routes, drainage paths, existing equipment, and any areas requiring restricted access.
Step 2: Mark Attachment Positions
Set out the mounting positions according to the approved array layout and engineering design.
Attachment spacing must not be determined solely by convenience or by copying the spacing used on another project.
Step 3: Install the Roof Clamps
Position each clamp on the specified roof seam and install it using the prescribed hardware and torque.
Avoid over-tightening, damaging the roof coating, or deforming the seam. Use a calibrated torque wrench where specified.
Step 4: Install Rails or Approved Direct-Mount Components
Secure the rails or direct-mount components to the clamps according to the approved design.
Check alignment, connection engagement, rail spans, and any required allowances for thermal movement.
Step 5: Install PV Modules
Position the modules according to the approved layout. Install mid clamps and end clamps within the module manufacturer’s permitted clamping zones.
Verify the specified fastening torque and ensure that all mechanical connections are properly engaged.
Step 6: Complete Electrical Bonding and Inspection
Complete grounding, bonding, cable management, and electrical work according to applicable requirements.
Inspect clamp positions, fasteners, rail connections, module attachment, roof condition, and drainage. Record the installation details and carry out any required commissioning checks.
7. Wind Load, Snow Load, and Structural Safety
Structural performance is one of the most important considerations in standing seam solar mounting.
The U.S. Department of Energy recommends considering severe weather and structural design risks when selecting and installing PV systems. Its guidance references ASCE/SEI 7 and other wind-design resources for projects exposed to strong winds.
Reference: U.S. Department of Energy — Severe Weather Resilience in Solar Photovoltaic System Design.
Wind Uplift
Wind can generate uplift and lateral forces on PV modules and mounting components. These forces are transferred through the rails and clamps to the roof panels, concealed clips, and supporting structure.
The design should verify the complete load path, including:
- PV module and rail loading.
- Clamp holding strength.
- Rail bending and connection capacity.
- Roof panel strength.
- Concealed clip and structural attachment capacity.
- Supporting purlins and the building structure.
A clamp’s published holding strength alone is not sufficient to demonstrate that the complete roof assembly is safe.
Снеговая нагрузка
In snow-prone regions, the design should account for the applicable roof snow load and the effects of the PV layout on snow accumulation and distribution.
The PV system must not compromise roof drainage, and snow-retention or snow-shedding risks should be considered where relevant.
Thermal Movement
Metal roofing expands and contracts with temperature changes. The mounting arrangement must avoid unintentionally restricting the movement intended by the roof system.
Some rail arrangements can introduce loads into concealed roof clips. Confirm the compatibility of the attachment design with the roof manufacturer’s requirements.
Important: Final attachment spacing, clamp selection, rail spans, and fastening specifications must be based on project-specific engineering and the mounting system manufacturer’s approved instructions.
8. Common Installation Mistakes to Avoid
Using Incompatible Roof Clamps
A clamp that fits over a seam is not necessarily suitable for structural attachment. Incorrect geometry or inadequate holding strength can compromise the installation.
Ignoring the Roof’s Concealed Clips
The roof panel and its concealed attachment system may be subject to additional loads from the PV array. Evaluate the entire load path rather than the clamp alone.
Over-Tightening Fasteners
Excessive torque can damage roof coatings, deform seams, or affect the performance of the attachment. Follow the specified installation torque.
Overlooking Thermal Expansion
An installation that restricts the roof’s intended movement may create unwanted stresses in panels, clamps, and connections.
Neglecting Corrosion Compatibility
Incompatible metals and unsuitable fasteners can increase corrosion risk, especially in coastal or industrial environments.
Assuming a Non-Penetrating System Automatically Preserves the Warranty
Roof warranty conditions vary. Confirm the proposed mounting method with the roofing manufacturer or building owner before installation.
9. How to Reduce the Total Cost of a Standing Seam Solar Project
The lowest unit price does not necessarily produce the lowest installed cost.
EPCs and installers should consider the total cost of the mounting system, including:
- Roof clamps and mounting rails.
- Module clamps and fasteners.
- Engineering and compatibility verification.
- Installation labor and tools.
- Transportation and packaging.
- Inspection, maintenance, and potential replacement costs.
A well-matched mounting system can help reduce unnecessary components, simplify installation, and avoid expensive rework.
For larger commercial projects, reviewing rail spans, attachment positions, module layout, and packaging requirements early can help optimize both engineering and procurement.
10.Часто задаваемые вопросы
1. Can solar panels be installed on a standing seam metal roof without drilling holes?
Yes. Compatible standing seam clamps can attach to raised roof seams without penetrating the roofing panels. However, compatibility must be verified for the specific roof profile and mounting system.
2. Are all standing seam roof clamps compatible with every metal roof?
No. Clamp compatibility depends on seam geometry, dimensions, roof material, metal thickness, and the clamp manufacturer’s approved applications. Always confirm compatibility before installation.
3. Are aluminum rails suitable for standing seam solar mounting?
Aluminum rails are widely used because of their relatively low weight, corrosion resistance, and ease of handling. The selected rail must still meet the project’s structural requirements and be compatible with the clamps and PV modules.
4. Do standing seam solar mounting systems require structural calculations?
Structural verification is essential, particularly for commercial projects and locations exposed to high winds or heavy snow. The design should consider the complete load path from the PV modules to the building structure.
5. Will installing solar panels affect my metal roof warranty?
It may, depending on the roof manufacturer’s warranty terms and the attachment method. A compatible non-penetrating system can help avoid new holes in the roof panels, but warranty conditions should be confirmed with the roofing manufacturer.
6. Can standing seam roof mounting systems be used in coastal areas?
Potentially, yes. The roof material, rail alloy and finish, clamp materials, fasteners, and electrical bonding arrangements must be suitable for the local exposure conditions. Coastal projects require particular attention to corrosion and dissimilar-metal compatibility.
7. Is a rail-based or rail-free system better for standing seam roofs?
Neither configuration is universally better. The choice depends on module compatibility, roof profile, structural requirements, installation efficiency, and the manufacturer’s approved system design.
8. What information is required to quote a standing seam roof solar mounting system?
The most useful information includes the roof profile and dimensions, roof panel thickness, project location, module specifications, roof layout, design loads, and required certifications or engineering documents. These details help establish compatibility and prepare a more accurate quotation.
11. How АЛВ Solar Can Support Your Metal Roof PV Projects
ALV Solar specializes in photovoltaic mounting systems and aluminum profiles for rooftop, ground-mounted, and carport applications.
For standing seam metal roof projects, the appropriate solution may include aluminum mounting rails, compatible roof clamps, module clamps, and other required mounting accessories, depending on the roof profile and project requirements.
When evaluating a mounting solution, our team can review the technical information provided by the customer to help identify a suitable system configuration.
Information Needed for a Project Review
To help evaluate a standing seam metal roof solar mounting project, please provide:
- Roof profile: Roof manufacturer, seam type, seam dimensions, and panel thickness.
- Project location: City or coordinates, applicable wind requirements, and snow-load information where relevant.
- PV modules: Manufacturer, model, dimensions, quantity, and orientation.
- Roof drawings: Roof layout, structural drawings, or clear photographs of the roof seams.
- Project requirements: Preferred mounting configuration, installation schedule, and required engineering documentation.
With this information, the mounting configuration can be assessed more effectively before quotation.
Visit ALV Solar to learn more about our solar mounting solutions.
Looking for a reliable mounting solution for your standing seam metal roof project? Contact ALV Solar at sales@xmalv.com to discuss your roof profile, project requirements, and aluminum mounting rail options.