

How to Install Solar Mounting Systems on Metal Roofs: A Step-by-Step Guide(2026)

Última atualização: August 26th, 2026
Autor: Devi Huang | International Sales Team, ALV
Devi Huang faz parte da equipe de vendas internacionais da ALV, fabricante de sistemas de montagem solar e perfis de alumínio. Ela trabalha com empreiteiras EPC, distribuidores e desenvolvedores de projetos em todo o mundo, ajudando os clientes a escolher as soluções de montagem mais adequadas com base nos requisitos do projeto, nas normas locais e no orçamento.
What Is a Metal Roof Solar Mounting System?
A metal roof solar mounting system is a structure designed to securely attach photovoltaic modules to metal roofing surfaces, including standing seam roofs, corrugated metal roofs, and trapezoidal sheet roofs.
Unlike traditional tiled roofs, metal roofs usually allow faster installation because installers can use direct clamps or specialized brackets without removing roofing materials.
For commercial and industrial projects, metal roofs are one of the most common platforms for rooftop solar because they provide large available areas, strong structural capacity, and easier installation access.
According to the International Energy Agency (IEA), solar PV continues to be one of the fastest-growing renewable energy technologies globally, increasing demand for reliable rooftop mounting solutions.
Step-by-Step Installation Process for Solar Mounting Systems on Metal Roofs
Step 1: Inspect the Metal Roof Condition
Before installation, engineers should inspect the roof structure, metal sheet condition, corrosion level, and load capacity.
The inspection should confirm:
- Roof material type
- Roof thickness
- Roof slope
- Existing damage
- Structural support condition
A roof that has corrosion, loose fasteners, or insufficient structural strength should be repaired before installing solar panels.
ALV recommends collecting roof drawings, photos, project location, and structural information before designing a mounting solution.
Step 2: Identify the Metal Roof Type
Different metal roofs require different mounting methods.
| Metal Roof Type | Recommended Mounting Method | Installation Feature |
| Standing Seam Roof | Seam clamps | No drilling required |
| Trapezoidal Metal Roof | Self-drilling screws + brackets | Direct attachment |
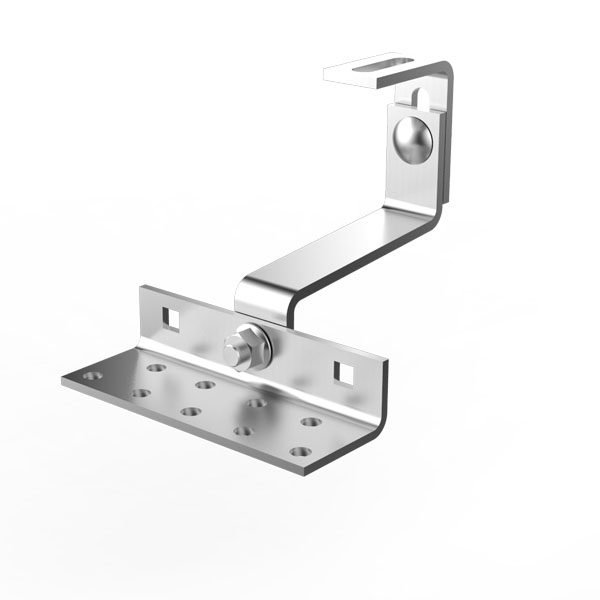
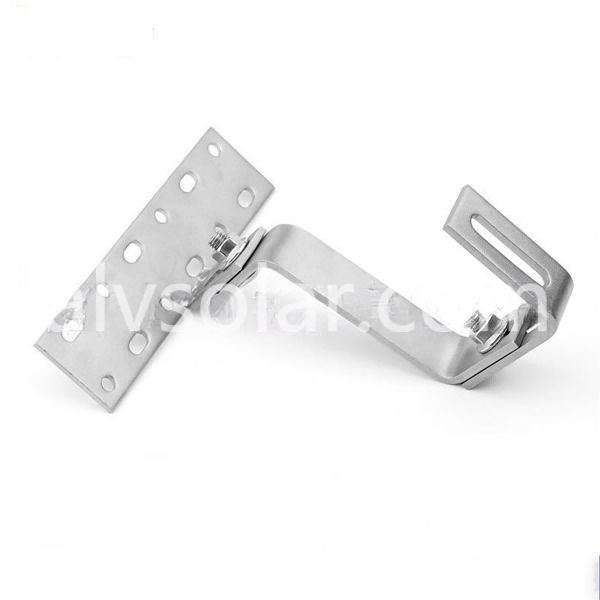
| Corrugated Metal Roof | Roof hooks or brackets | Requires accurate fixing points |
| Insulated Metal Panel Roof | Specialized fasteners | Avoid damaging insulation |
The correct mounting method improves waterproof performance and reduces installation risks.
ALV designs mounting systems according to roof profile, module layout, and environmental conditions.
Step 3: Calculate Wind Load and Structural Requirements
Wind load is one of the most important factors for rooftop solar systems, especially for large commercial buildings or coastal projects.
Engineers must evaluate:
- Basic wind speed
- altura do edifício
- Roof edge zones
- Mounting angle
- Panel arrangement
In the United States, structural calculations commonly reference ASCE/SEI 7-22 Minimum Design Loads and Associated Criteria for Buildings and Other Structures, which provides requirements for wind, snow, seismic, and other structural loads.
In Europe, engineers commonly refer to EN 1991-1-4 Eurocode 1 for wind actions when designing rooftop structures.
Step 4: Install Roof Clamps or Mounting Brackets
The mounting hardware depends on the metal roof type.
Standing Seam Metal Roof
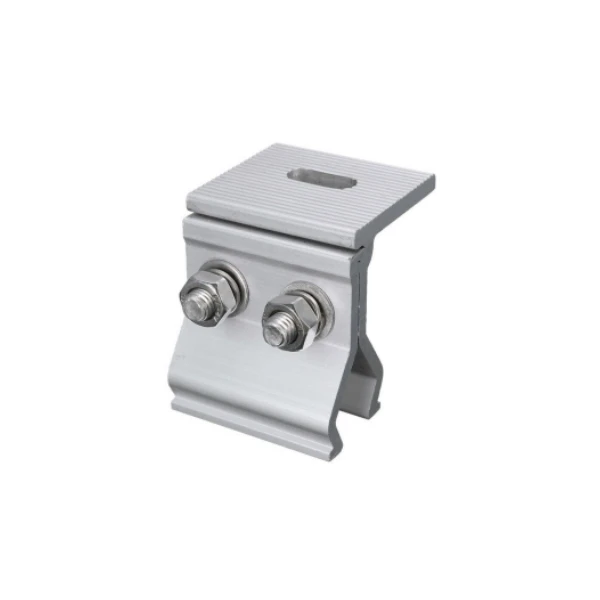
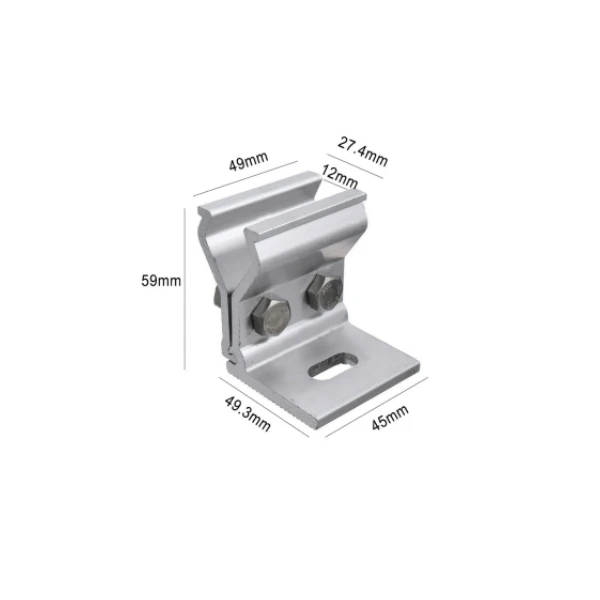
Standing seam roofs usually use non-penetrating clamps that attach directly to the raised seams.
Advantages:
- No roof drilling
- Lower leakage risk
- Faster installation
Trapezoidal Metal Roof
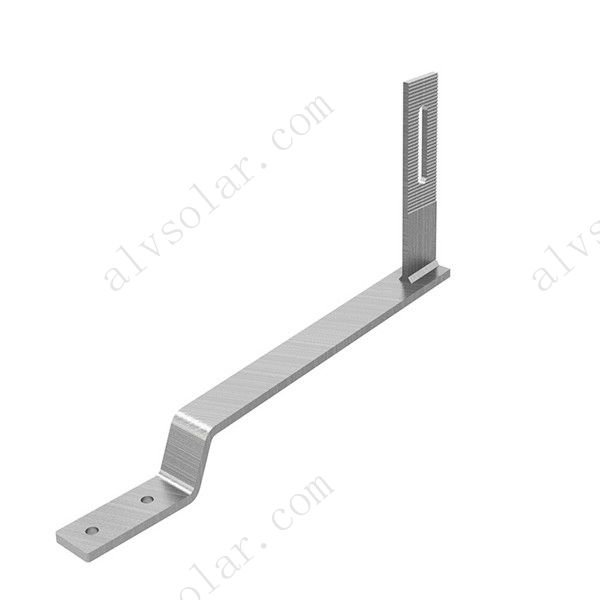
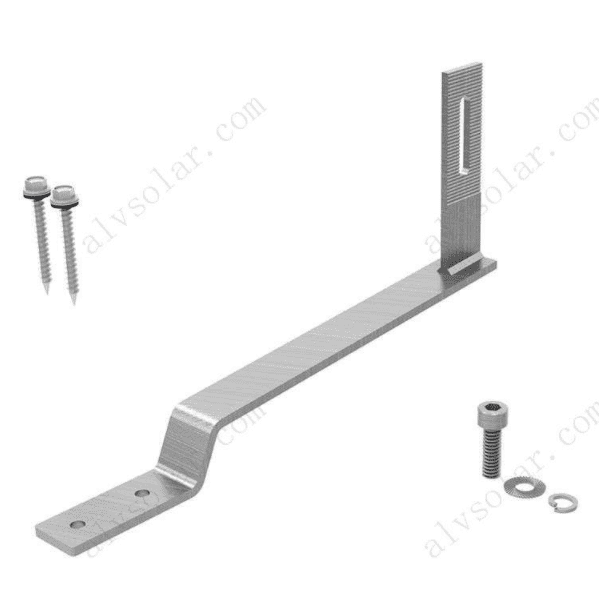
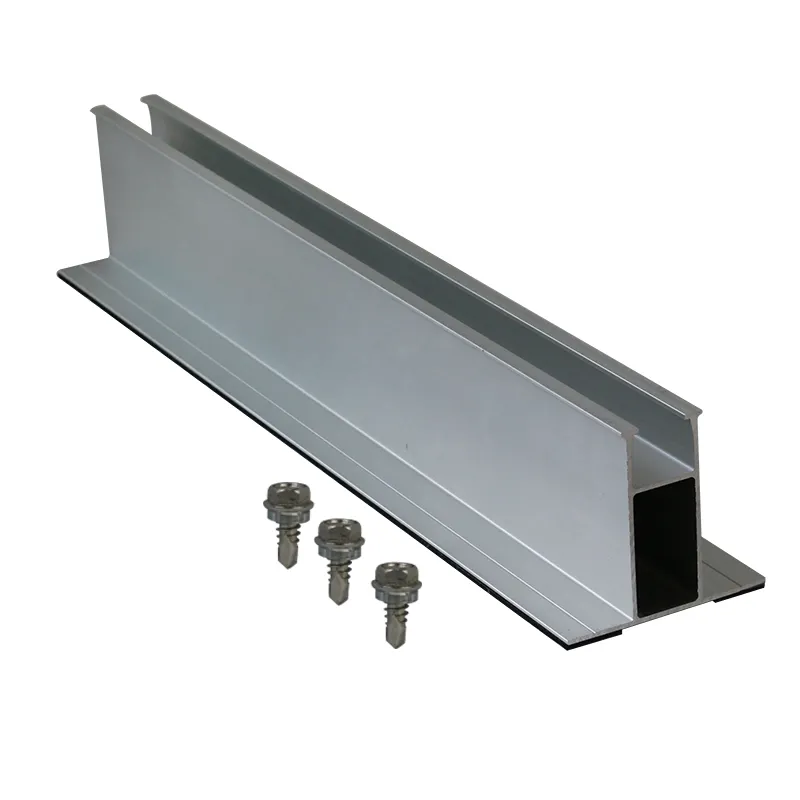
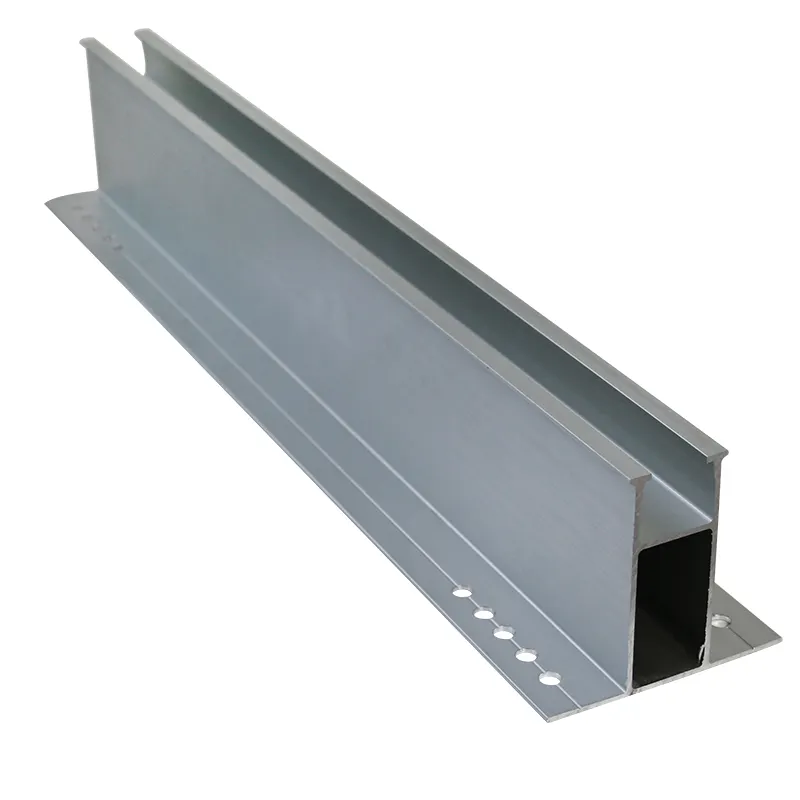
Trapezoidal roofs usually require brackets fixed through the metal sheet into the supporting structure.
Installers must use suitable screws, sealing washers, and corrosion-resistant materials.
ALV recommends using aluminum alloy and stainless-steel components for long-term durability, especially in humid or coastal environments.
Step 5: Install Solar Rails
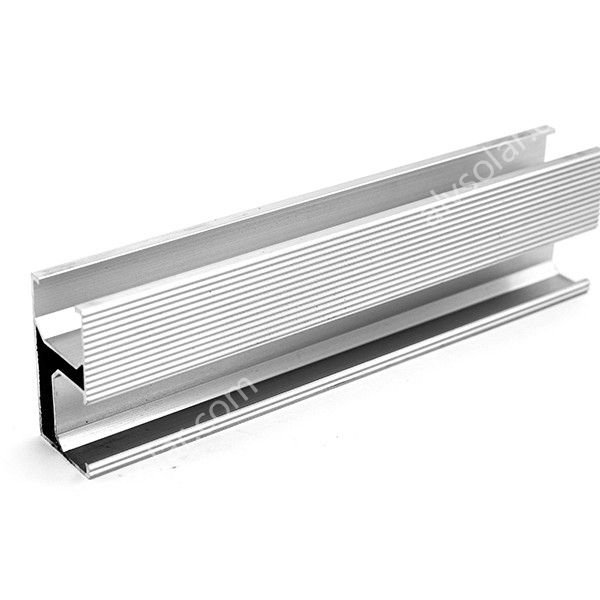
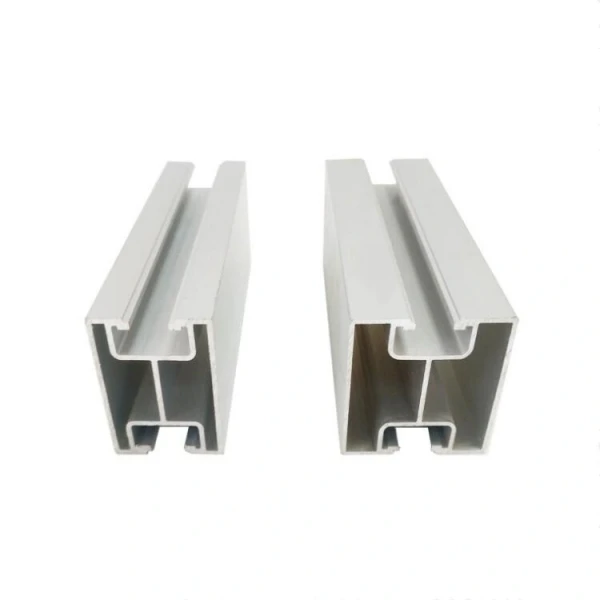
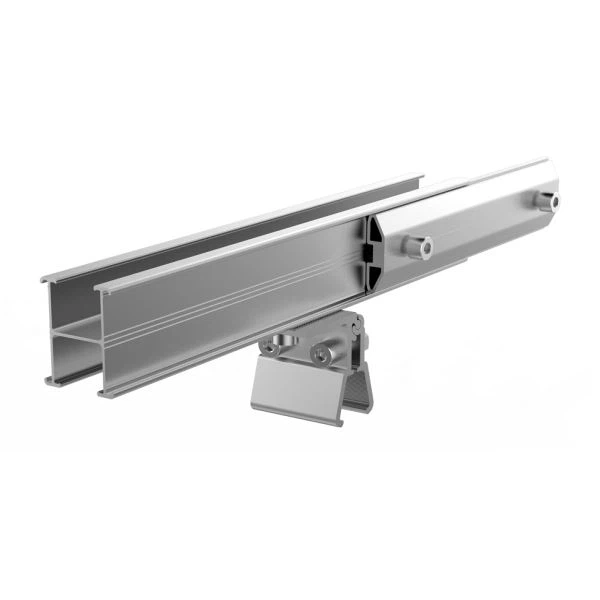
After fixing brackets or clamps, installers attach aluminum rails that support photovoltaic modules.
The rail installation process includes:
- Positioning rails according to module layout
- Checking alignment
- Tightening bolts with correct torque
- Installing grounding accessories
A properly aligned rail system reduces mechanical stress on solar modules and improves installation efficiency.
For photovoltaic array design, IEC 62548-1:2023 provides international design requirements related to PV array safety and system configuration.
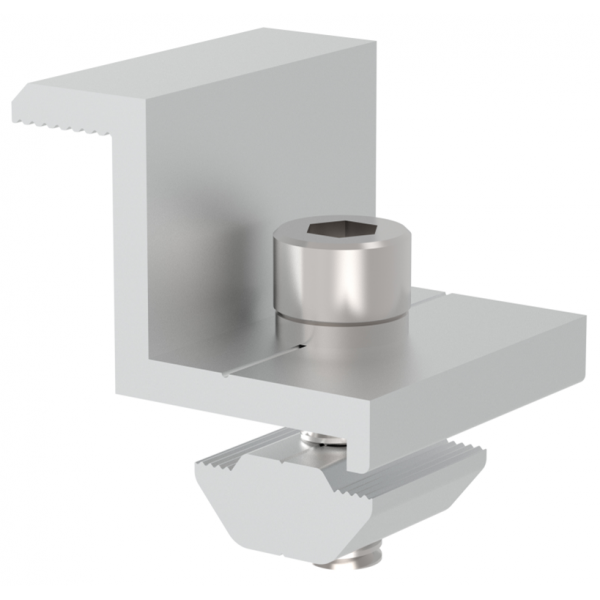
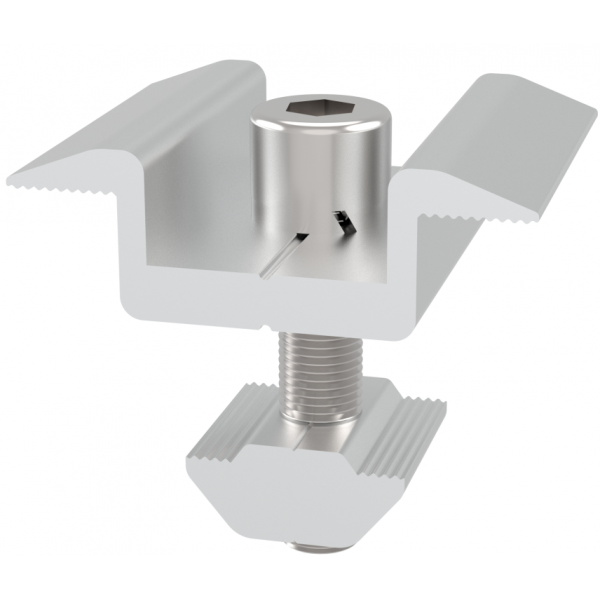
Step 6: Install Mid Clamps and End Clamps
Solar modules are secured to rails using mid clamps and end clamps.
| Component | Function |
| End Clamp | Fixes the edge modules |
| Mid Clamp | Connects adjacent modules |
| Rail Connector | Extends mounting rails |
| Grounding Clip | Provides electrical grounding |
Clamp selection should match:
- Module frame thickness
- Module size
- Wind conditions
- Installation method
ALV provides compatible clamp solutions for different module brands and rooftop applications.
Step 7: Install and Connect Solar Panels
After mounting rails and clamps are installed, photovoltaic modules can be positioned.
Installers should verify:
- Correct module spacing
- Proper clamp position
- Secure bolt tightening
- Cable management
Modules should not experience excessive mechanical pressure because improper installation may affect long-term performance.
Step 8: Final Inspection and Testing
Before completing the project, installers should check:
- All bolts are tightened
- Roof waterproofing remains intact
- Mounting structure is stable
- Grounding connections are completed
- Panels are correctly aligned
A final inspection helps ensure the solar mounting system can operate reliably for its expected service life.
Metal Roof Solar Mounting Materials Comparison
The material selection of solar mounting systems directly affects durability, corrosion resistance, installation efficiency, and lifecycle cost. Aluminum alloy and stainless steel are commonly used materials for rooftop photovoltaic structures.
| Material | Advantages | Limitations | Typical Application |
| Liga de alumínio | Lightweight, excellent corrosion resistance, easy installation | Higher material cost | Commercial rooftops, coastal areas, residential roofs |
| Stainless Steel | High strength, excellent corrosion resistance | Higher weight and cost | High-load applications, special environments |
| Aço galvanizado | Strong structural performance, cost-effective | Requires corrosion protection | Large industrial rooftop systems |
For metal roof solar installations, aluminum alloy rails combined with stainless steel fasteners are widely used because they provide a balance between lightweight design and long-term durability.
According to ISO 9227 Salt Spray Testing Standard, corrosion resistance evaluation is important when selecting metallic materials and protective coatings for outdoor environments, especially in coastal or high-humidity locations.
How Much Does It Cost to Install Solar Mounting Systems on Metal Roofs?
The cost of a metal roof solar mounting system depends on several factors, including roof type, material selection, project size, wind requirements, and installation complexity.
Typical cost factors include:
| Fator de custo | Impact on Price |
| Roof Type | Standing seam roofs may reduce labor costs because no drilling is required |
| Mounting Material | Aluminum systems usually cost more than galvanized steel |
| Wind Load Requirement | Higher wind areas require stronger structures |
| Project Scale | Large projects usually achieve lower unit costs |
| Installation Access | Difficult roof access increases labor expenses |
For commercial rooftop solar projects, mounting structures typically represent around 8–15% of total solar system costs, depending on project design and regional conditions.
Why Choose ALV for Metal Roof Solar Mounting Solutions?
ALV specializes in photovoltaic mounting systems for commercial, industrial, and utility-scale solar projects.
Our engineering approach focuses on:
1. Customized Roof Solutions
Every metal roof is different. ALV designs mounting structures according to:
- Standing seam profile
- Trapezoidal sheet design
- Roof slope
- Module dimensions
- Local climate conditions
2. Structural Reliability
ALV engineering solutions consider international design standards, including:
- ASCE 7 for wind and structural loads
- EN 1991 for European wind and snow calculations
- IEC photovoltaic system standards
This ensures mounting systems are designed for long-term outdoor operation.
3. Efficient Installation
Metal roof systems allow faster installation compared with many traditional roofing systems.
ALV solutions are optimized for:
- Reduced installation steps
- Fewer components
- Easy transportation
- Lower labor requirements
This is especially valuable in regions with high labor costs, such as Europe, North America, and Australia.
Common Mistakes When Installing Solar Mounting Systems on Metal Roofs
1. Using the Wrong Roof Clamp
Different metal roof profiles require different clamps. Incorrect clamps may damage roof seams or reduce structural performance.
2. Ignoring Wind Load Requirements
A rooftop solar system experiences wind pressure throughout its lifetime. Insufficient structural calculations may create safety risks.
3. Over-Tightening Fasteners
Excessive tightening can deform metal sheets, damage sealing washers, or create leakage problems.
4. Choosing Materials Without Considering Corrosion
For coastal projects, material selection is critical. Aluminum alloy and corrosion-resistant fasteners can improve system durability.
Frequently Asked Questions (FAQ)
1. Can solar panels be installed directly on a metal roof?
Yes. Solar panels can be installed directly on metal roofs using appropriate clamps, brackets, and mounting rails designed for the specific roof profile.
2. Do solar panels damage metal roofs?
A properly designed solar mounting system should not damage a metal roof. Professional installation avoids unnecessary drilling and protects waterproofing performance.
3. Which metal roof is best for solar installation?
Standing seam metal roofs are usually considered one of the easiest options because solar clamps can attach directly without penetrating the roof surface.
4. How long do metal roof solar mounting systems last?
High-quality solar mounting systems are typically designed for 25–30 years or more when suitable materials and proper installation methods are used.
5. What information does ALV need before designing a metal roof mounting system?
ALV recommends providing:
- Roof drawings or photos
- Metal roof type
- Roof slope
- Building location
- Velocidade do vento
- Snow load requirements
- Solar module specifications
6. Are aluminum solar mounting systems suitable for coastal areas?
Yes. Aluminum alloy has excellent corrosion resistance and is commonly used for solar mounting systems in coastal environments.
7. Do standing seam roofs need drilling for solar installation?
Usually no. Standing seam roofs commonly use clamp-based mounting solutions that attach to the roof seams without penetrating the metal surface.
Need a Customized Metal Roof Solar Mounting Solution?
Metal roof solar installation requires accurate structural design, suitable mounting components, and reliable engineering support.
ALV provides customized photovoltaic mounting systems for standing seam roofs, trapezoidal metal roofs, and industrial rooftop projects worldwide.
Contato ALV today to receive a professional mounting recommendation, technical solution, or project quotation.