

Solar Mounting System Components: A Complete Guide to Rails, Clamps, and Brackets(2026)

Last Updated: October 27, 2026
Autor: Devi Huang | Equipe de Vendas Internacionais, ALV (Endereço de email:vendas@xmalv.com)
Devi Huang faz parte da equipe de vendas internacionais da ALV, fabricante de sistemas de montagem solar e perfis de alumínio. Ela trabalha com empreiteiras EPC, distribuidores e desenvolvedores de projetos em todo o mundo, ajudando os clientes a escolher as soluções de montagem mais adequadas com base nos requisitos do projeto, nas normas locais e no orçamento.
A reliable solar mounting system does more than hold solar panels in place. It transfers loads from the modules to the roof or ground foundation, maintains the required panel position, and helps protect the installation against wind, snow, vibration, and environmental exposure.
Understanding the main solar mounting system components—rails, clamps, brackets, connectors, and fasteners—is essential when selecting a mounting solution for residential rooftops, commercial buildings, industrial facilities, and utility-scale solar projects.
In this guide, we explain what each component does, how to choose suitable materials, which technical factors affect system reliability, and what project information buyers should prepare before requesting a quotation.
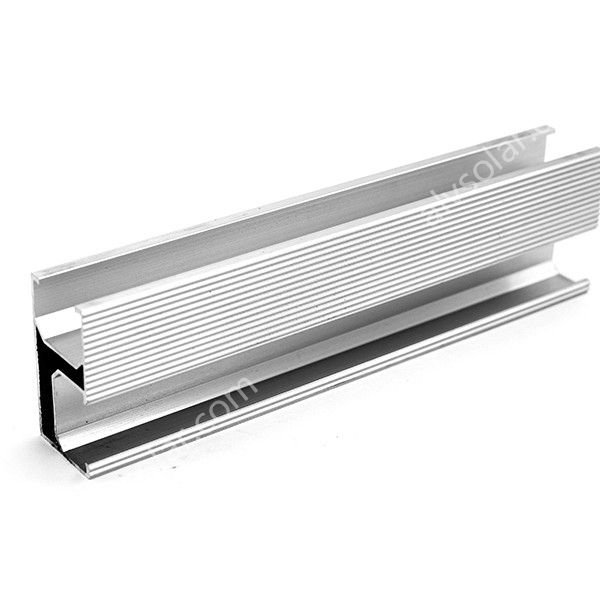
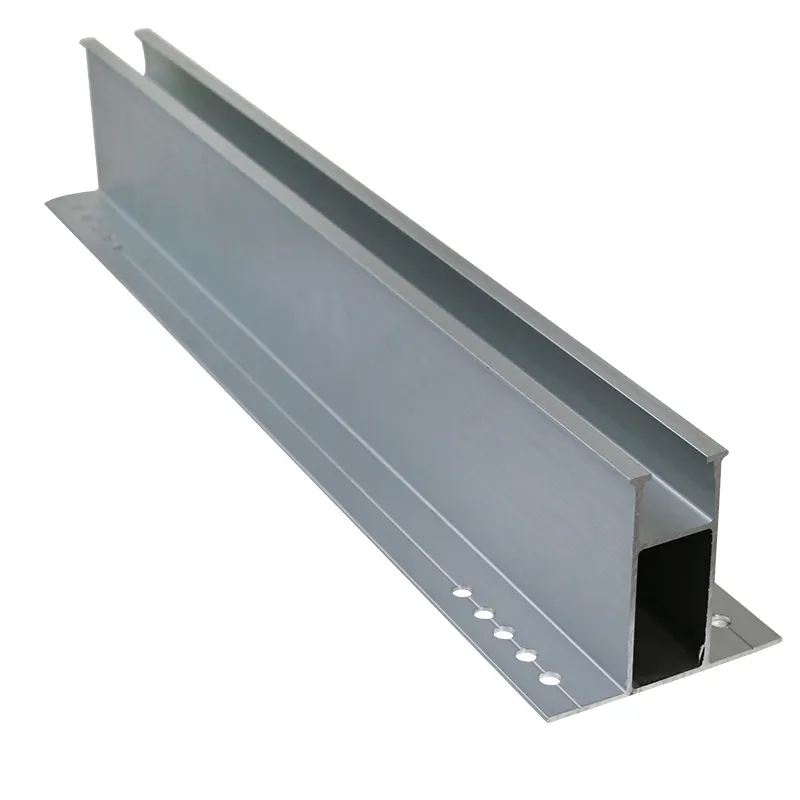
Featured image: Solar mounting rails, clamps, connectors, and roof brackets shown in an exploded assembly view.
1. What Are the Main Components of a Solar Mounting System?
A solar mounting system, also known as a solar racking system, consists of structural components that secure photovoltaic (PV) modules to a building or ground-mounted structure.
The exact configuration depends on the roof type, module layout, environmental loads, foundation design, and installation method.
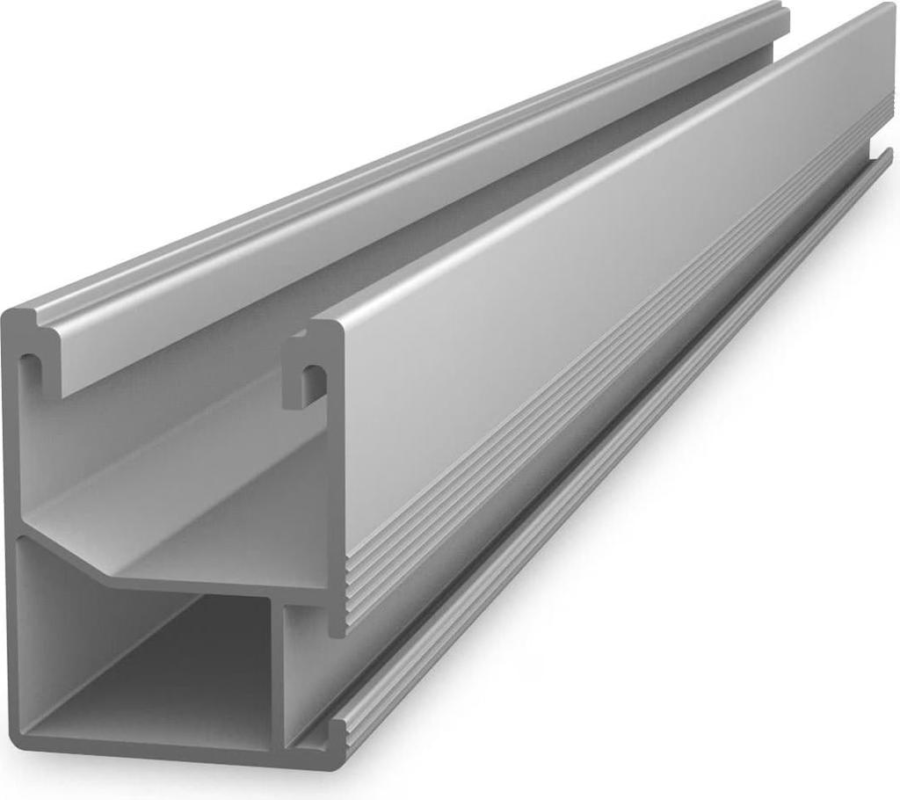
Solar mounting rails
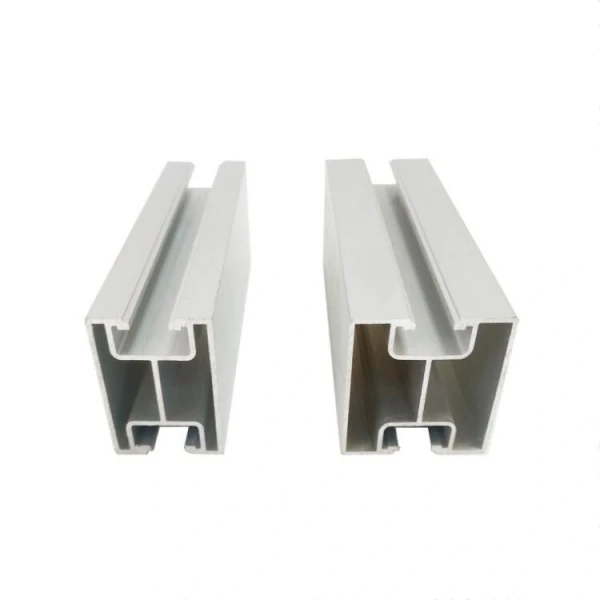
Rails provide the supporting framework for solar modules and transfer loads to the brackets or support structure. Rail cross-section, span, alloy, and wall thickness affect structural performance and compatibility.
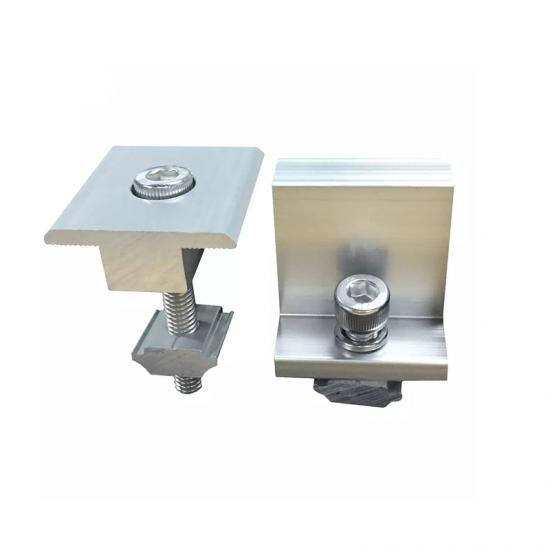
Braçadeiras intermediárias e braçadeiras de extremidade
Mid clamps secure adjacent modules, while end clamps secure the outer edges of a module row. Both must match the module frame, rail profile, and approved clamping configuration.
Mounting brackets and roof attachments
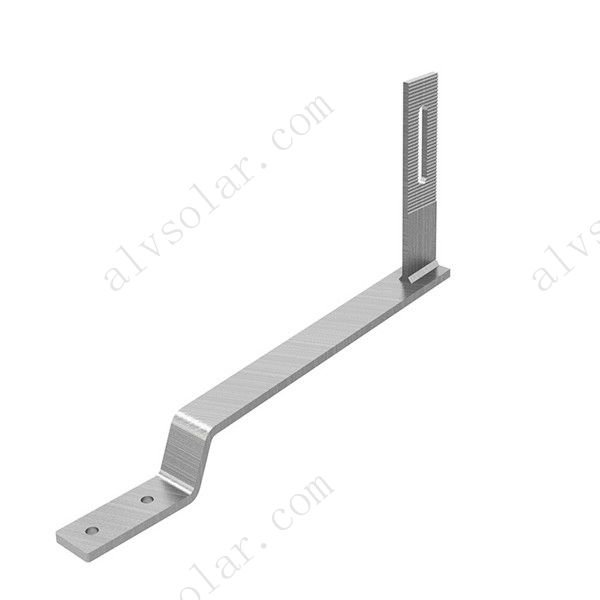
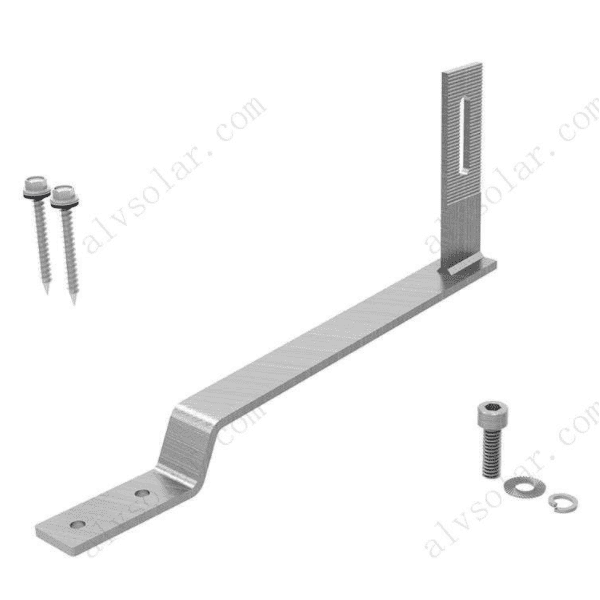
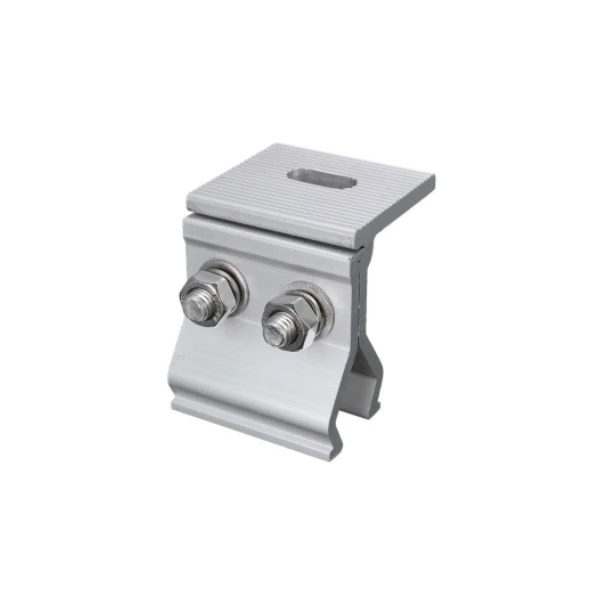
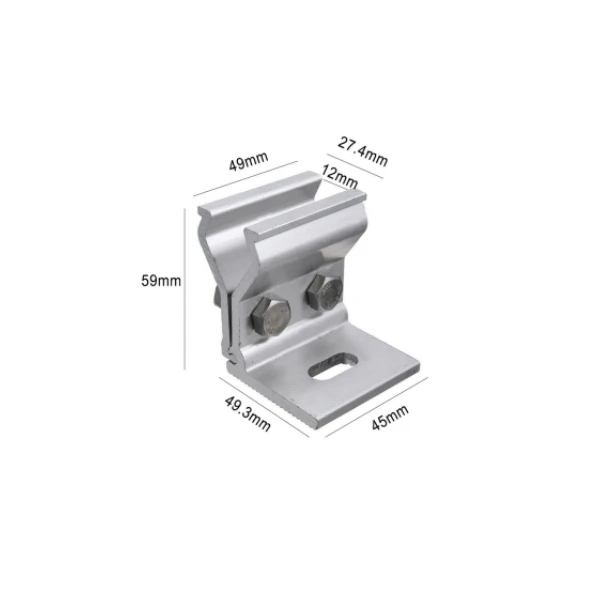
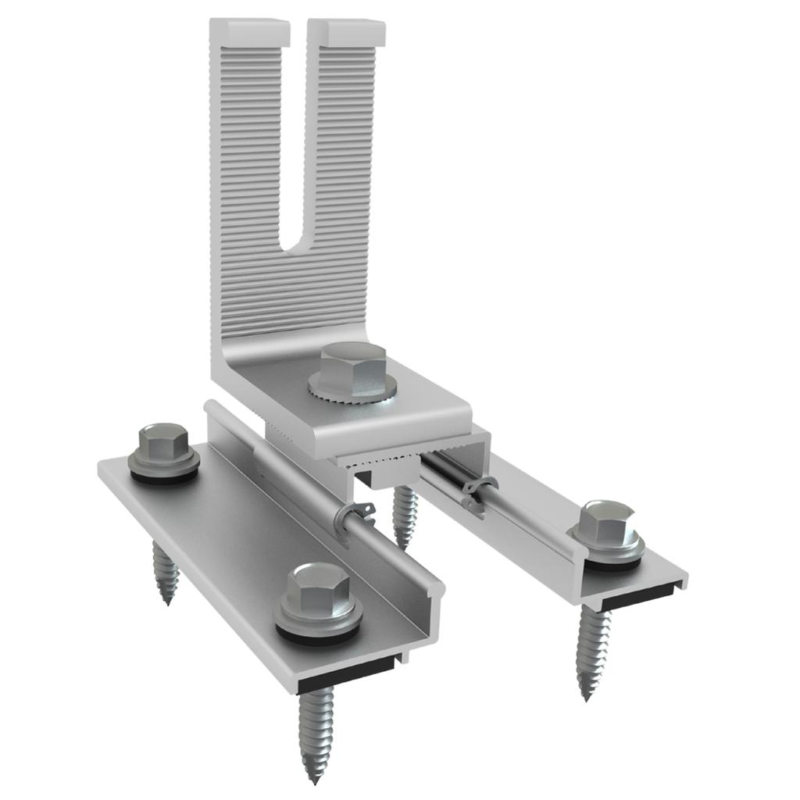
Brackets connect the rail system to the roof or primary structure. Options include L-feet, standing-seam clamps, trapezoidal metal-roof brackets, tile hooks, and ground-mount support brackets.
Rail connectors and fasteners
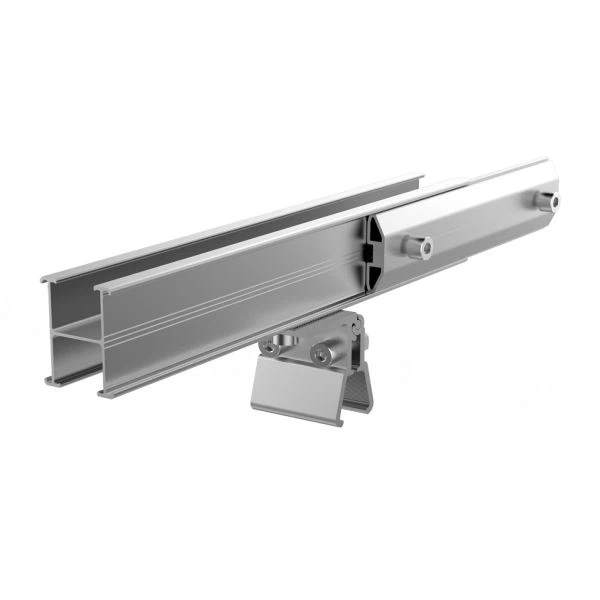
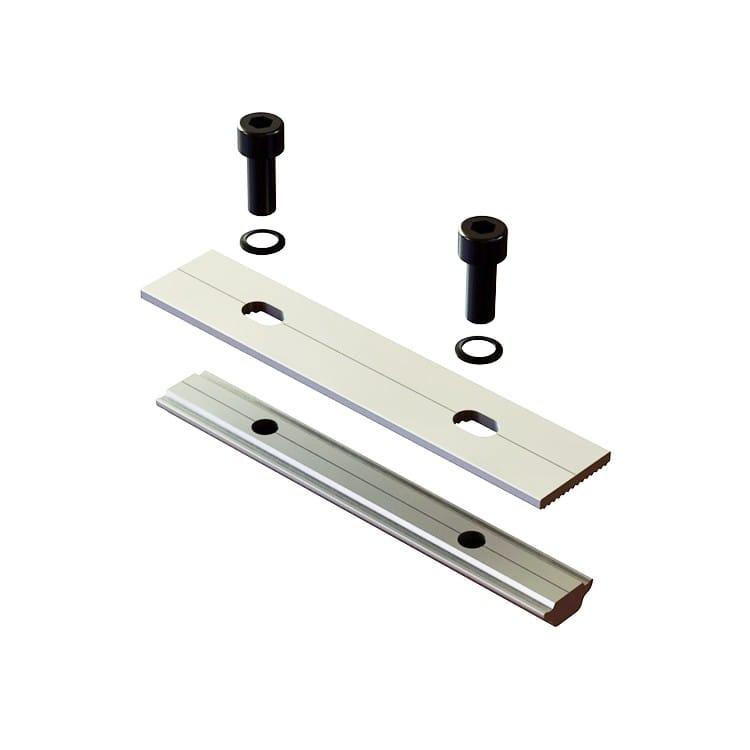
Rail splices join compatible rail sections. Bolts, nuts, washers, grounding components, and other accessories complete the assembly and help maintain mechanical and electrical integrity where required.
These components work as a system. Selecting a strong rail alone is not enough if the roof attachment, clamp, fastener, or supporting structure is unsuitable for the project.
2. Solar Mounting Rails: Types, Materials, and Applications
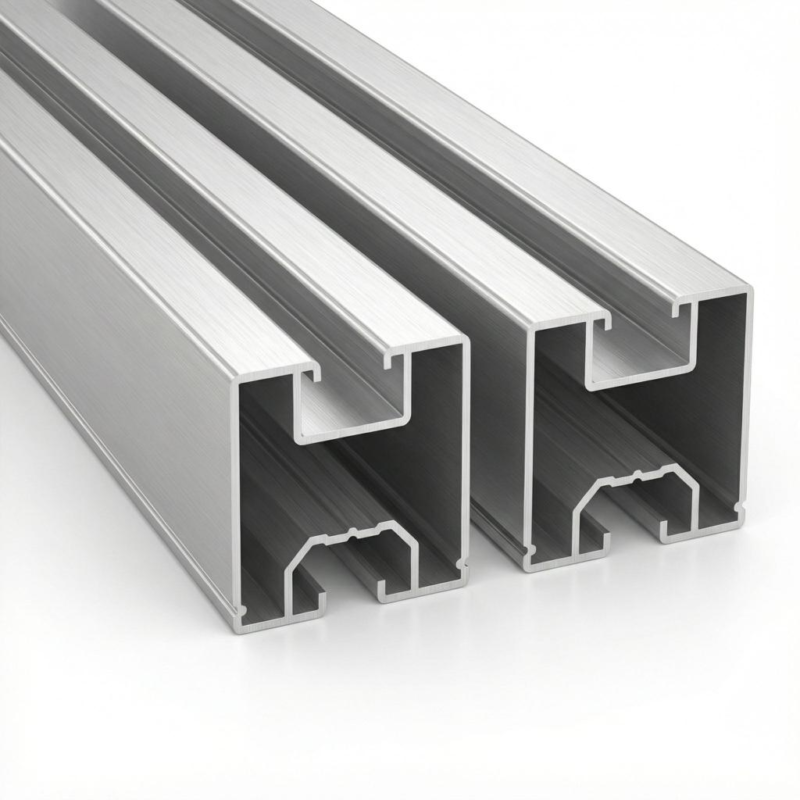
Solar mounting rails support the modules and distribute their loads to the underlying structure. Their dimensions and mechanical properties influence allowable spans, deflection, installation flexibility, and material consumption.
Common types of solar mounting rails
| Rail type | Typical application | Key selection consideration |
| Aluminum T-slot or channel rail | Residential and commercial rooftops | Clamp compatibility, span, and stiffness |
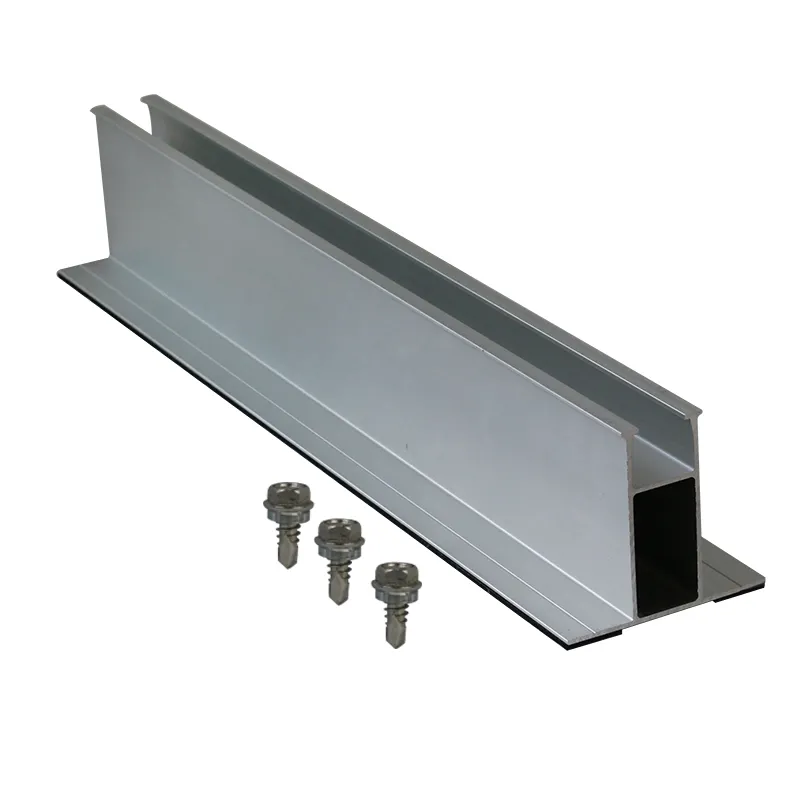
| Short rail | Trapezoidal or corrugated metal roofs | Roof profile, attachment spacing, and sealing |
| D-type or H-shaped rail | Project-specific roof or structural layouts | Cross-section strength and mounting interface |
| Steel structural rail or C-channel | Ground-mounted and larger structural systems | Section properties, corrosion protection, and connection design |
| Custom aluminum extrusion | Specialized mounting and OEM applications | Drawings, alloy, temper, tolerances, and finish |
The names and shapes of rails vary between manufacturers. A rail described as “H-shaped” by one supplier may not be dimensionally compatible with another supplier’s product.
Always confirm the actual cross-section drawing, dimensions, and interface specifications before combining components from different suppliers.
Aluminum vs. steel solar mounting rails
Aluminum rails are widely used in rooftop PV mounting because they are relatively lightweight, easy to handle, and naturally protected by an oxide layer. Suitable surface treatments can provide additional corrosion protection.
Steel rails and structural sections are often considered for ground-mounted systems and larger structural applications where the required section properties, support spacing, and project economics favor steel. Hot-dip galvanizing is one common corrosion-protection method.
| Factor | Alumínio | Galvanized steel |
| Peso | Generally lighter for comparable handling applications | Generally heavier |
| Proteção contra corrosão | Natural oxide layer; anodizing may provide additional protection | Zinc coating protects the steel |
| Structural design | Requires alloy-specific strength and stiffness calculations | Requires section-specific strength and stiffness calculations |
| Typical applications | Rooftop rails, extrusions, selected ground systems | Ground structures, posts, beams, and larger supports |
| Main checks | Alloy, temper, wall thickness, finish | Steel grade, coating, thickness, and fabrication |
Neither material is automatically the best choice for every project. The final selection should account for structural loads, corrosion exposure, rail spans, fabrication requirements, installation labor, and total system cost.
How to choose the right solar mounting rail
Before purchasing rails, check the following:
- Module dimensions and layout: Confirm module length, width, frame thickness, orientation, and the required rail arrangement.
- Rail span and support spacing: Verify the design against bending, deflection, shear, and connection capacity.
- Wind and snow loads: Use the applicable local code and project-specific design criteria.
- Roof or foundation interface: Confirm how loads are transferred from the rails to the supporting structure.
- Material and finish: Specify the alloy and temper, steel grade where applicable, surface treatment, and corrosion environment.
- Installation requirements: Check rail length, splice location, transport limits, and assembly sequence.
A longer rail is not necessarily a better rail. The correct design is the one that meets the project’s structural requirements while allowing efficient installation.
3. Solar Panel Clamps: Mid Clamps vs. End Clamps
Solar panel clamps secure modules to mounting rails. Their geometry and installation position affect how loads are transferred through the module frame and mounting system.
Mid clamps
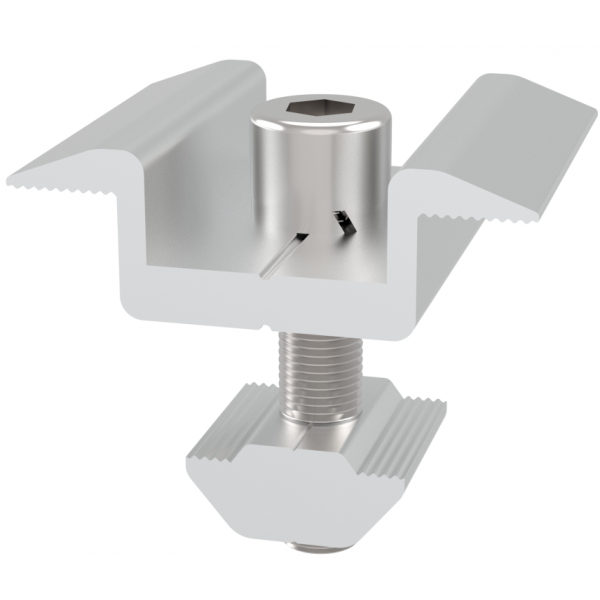
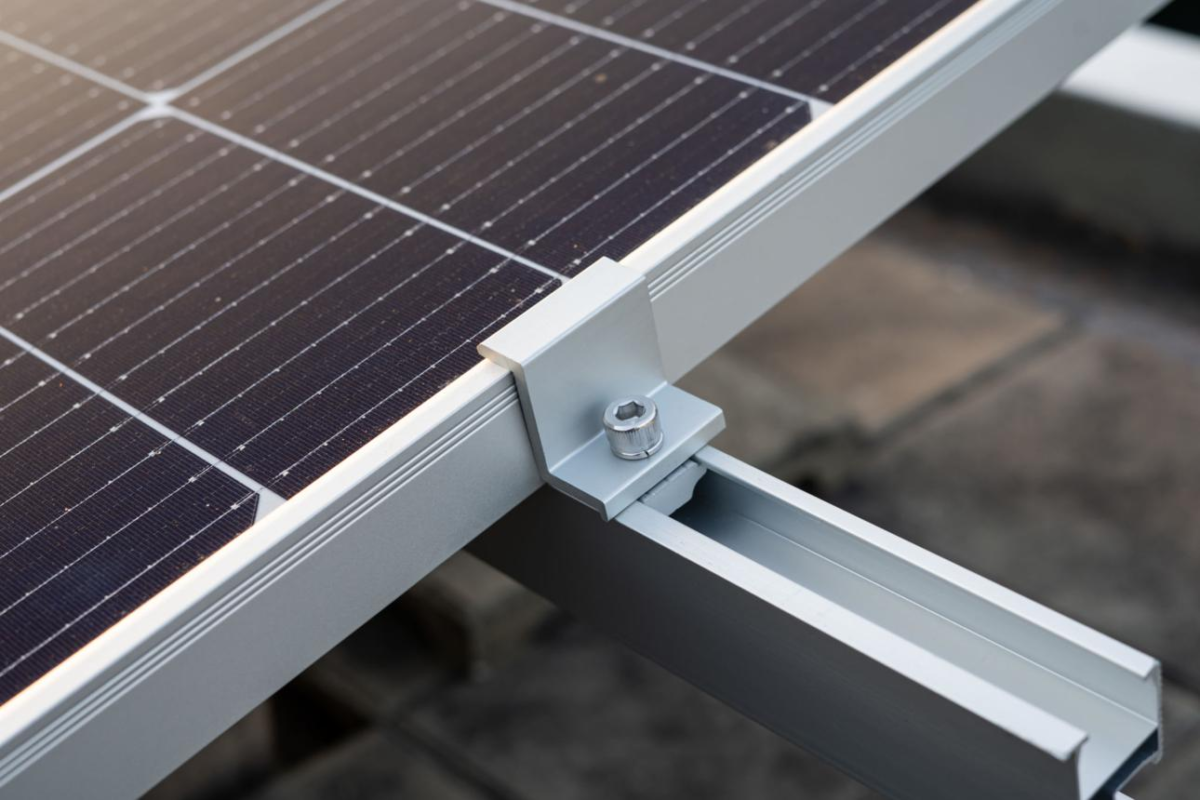
Mid clamps are installed between adjacent modules. They hold the neighboring module frames in position and are commonly used in continuous rows of framed PV modules.
When selecting mid clamps, confirm:
- Compatibility with the module frame thickness.
- Compatibility with the rail slot or fastening interface.
- Required clamping zones and module manufacturer’s installation instructions.
- Bolt dimensions, tightening torque, and any specified grounding function.
End clamps
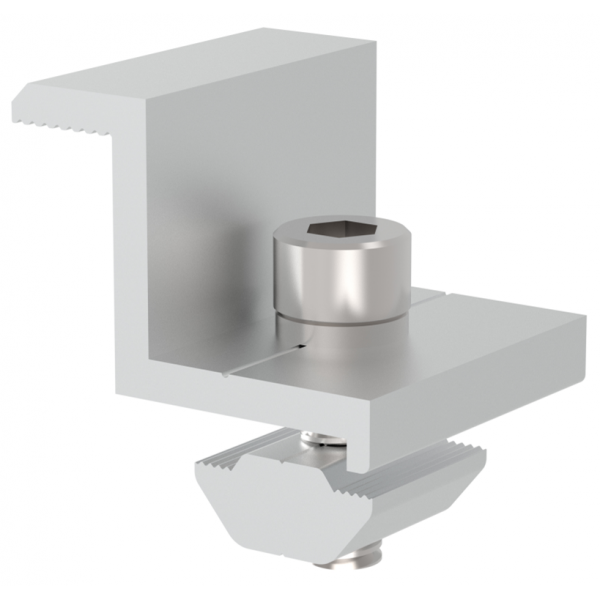
End clamps secure the outside edges of a module row. They may be fixed-height or adjustable, depending on the product design.
Check the module frame height, available rail engagement, clamp contact area, and the manufacturer’s specified tightening torque before installation.
Are mid clamps and end clamps interchangeable?
No. They perform different functions and generally have different geometries. An end clamp is designed for an outer module edge, whereas a mid clamp is designed to secure two adjacent module frames.
Using the wrong clamp or positioning a clamp outside the module manufacturer’s approved zones may compromise the installation. NREL’s technical guidance on severe-weather performance also discusses how clamp location, length, number, and type can affect the loads a PV module can withstand.
Buyer tip: When requesting a quotation, provide the PV module brand and model, frame thickness, rail profile, and required clamp finish. These details help the supplier confirm compatibility before production.
4. Solar Mounting Brackets: Matching the Attachment to the Roof
Mounting brackets connect the rails to the roof structure or the primary support frame. The correct bracket depends on the roof material, profile, structural substrate, waterproofing requirements, and design loads.
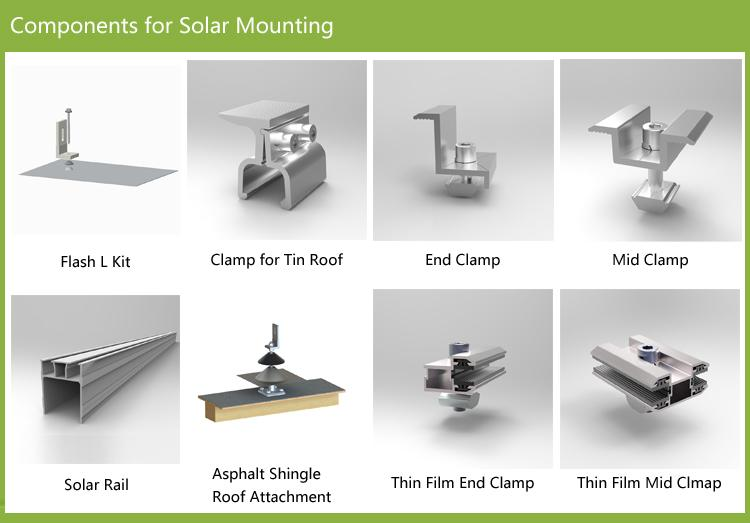
L-feet for suitable metal-roof applications
L-feet are commonly used with compatible metal-roof mounting configurations. Depending on the system, they connect rails to roof fasteners or structural members.
The installer must verify the roof construction, fastening location, fastener pull-out resistance, sealing method, and load path. An L-foot is not suitable for every roof simply because it fits the rail.
Standing-seam roof clamps
Standing-seam clamps attach to compatible raised seams using a system designed for the particular seam geometry. Depending on the roof and approved design, they may avoid penetrating the metal roof sheet.
Before specifying them, confirm the seam profile, sheet thickness, clamp compatibility, required torque, and the roof manufacturer’s requirements. Never assume that a clamp is non-penetrating or preserves the roof warranty without verifying the actual product and installation method.
Trapezoidal and corrugated metal-roof brackets
These brackets are designed for specific metal sheet profiles. Some systems use short rails or brackets secured through designated points with suitable fasteners and sealing washers.
The roof sheet’s thickness, supporting purlins, fastening pattern, and sealing detail must be checked. Attaching hardware to a thin sheet without verifying the supporting structure can create an inadequate load path.
Tile-roof hooks
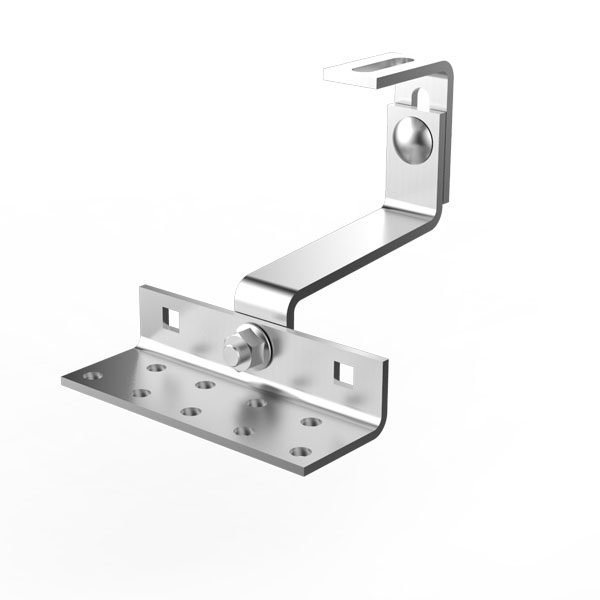
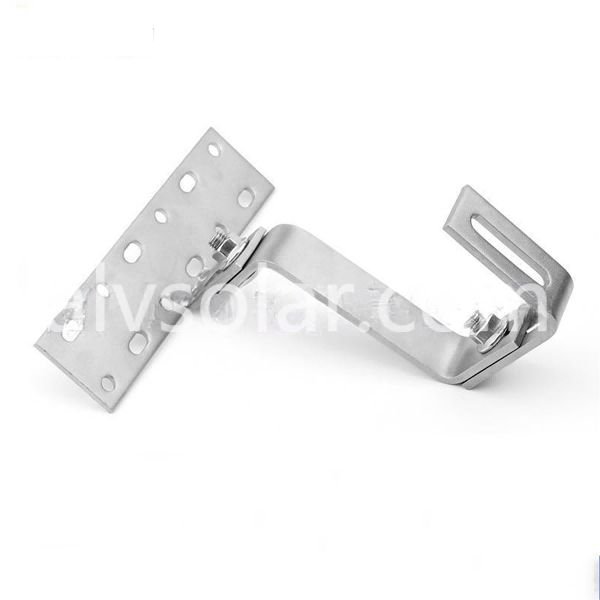
Tile-roof hooks are used to support rails on suitable pitched tiled roofs. The hook must connect securely to the underlying structural member, while the tile arrangement and clearance must be considered to avoid damaging the roof covering.
Tile shape, batten or rafter positions, roof pitch, and local loads influence the appropriate hook design.
Flat-roof supports and ballasted systems
Flat-roof PV systems may use tilted support frames, mechanically anchored brackets, or ballasted mounting systems, depending on the roof and project design.
For ballasted systems, the design must address wind uplift, sliding, overturning, roof load capacity, and waterproofing. Ballast weight should never be selected from a generic rule of thumb without the necessary engineering checks.
ALV offers a range of roof mounting products, including metal-roof attachments, tile hooks, L-feet, and flat-roof mounting solutions. Buyers can review the available categories here: ALV Roof Mounting Systems.
5. Solar Rail Splices, Fasteners, and Mounting Accessories
Rails, clamps, and brackets form the main structural connection chain, but the smaller accessories are equally important to a complete installation.
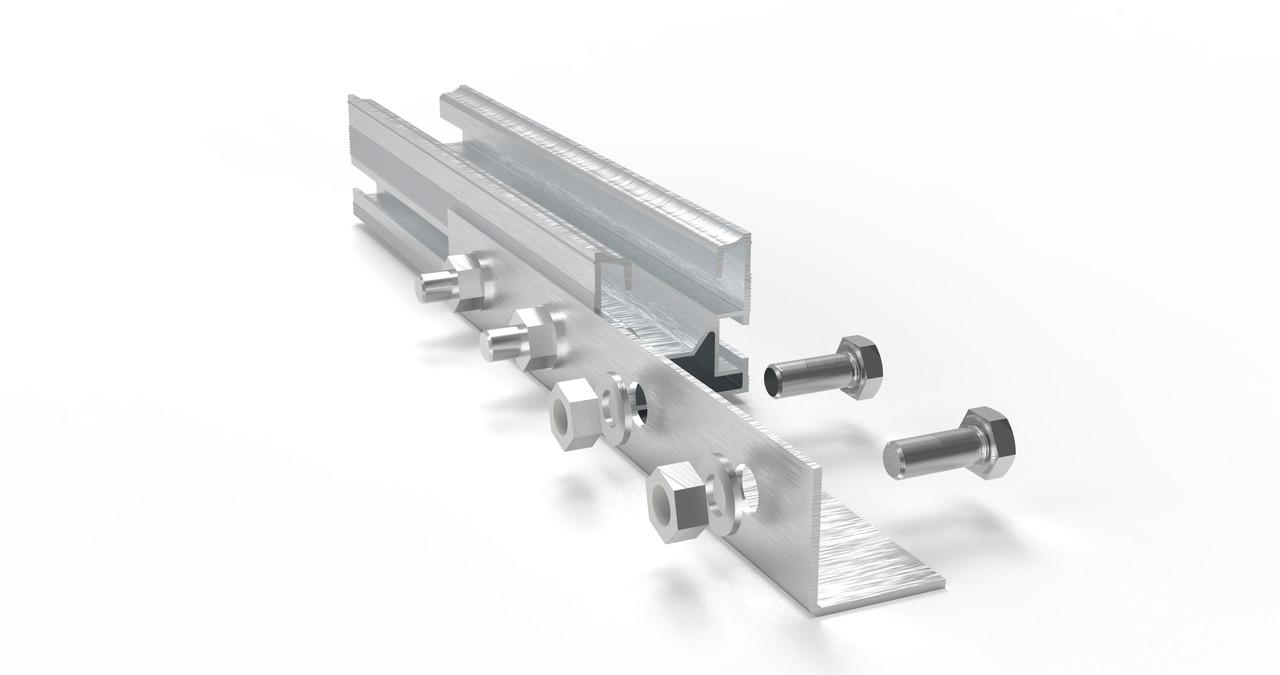
Rail splices and connectors
Rail splices connect two compatible rail sections to create a longer rail assembly. They must match the rail’s cross-section and fastening interface.
Important checks include:
- Rail model and cross-sectional dimensions.
- Splice engagement length and bolt configuration.
- Connector position relative to the rail supports.
- Structural continuity and allowable loads at the connection.
A rail splice should not automatically be assumed to restore the full strength of an uninterrupted rail. Its capacity and placement must follow the applicable engineering design.
Bolts, nuts, and washers
Fasteners secure brackets, clamps, rails, and structural connections. Material grade, diameter, thread engagement, corrosion resistance, and tightening torque should be specified for the intended application.
Stainless steel fasteners are commonly used in PV mounting hardware, but material selection requires attention to the surrounding metals and environmental exposure. In coastal or industrial environments, galvanic corrosion and compatibility between dissimilar metals deserve particular consideration.
Grounding and bonding accessories
Grounding and bonding components provide the required electrical continuity across designated metal parts of a PV mounting system. Depending on the design, these may include grounding lugs, bonding jumpers, or listed bonding clamps.
Do not assume that ordinary mechanical clamps automatically provide an approved electrical bonding path. Follow the applicable electrical code and the instructions for the specific evaluated system.
Cable clips and other accessories
Cable clips and related accessories help secure PV wiring, reduce uncontrolled movement, and maintain suitable cable routing. Their materials and positioning should be appropriate for outdoor UV exposure, temperature, and the wiring manufacturer’s requirements.
For product options, see ALV Solar Mounting Accessories.
6. How to Select Solar Mounting System Components for Your Project
Choosing components by unit price alone can lead to compatibility problems, installation delays, or unnecessary material use. A more effective purchasing process starts with the project conditions and works backward to the required component specifications.
Step 1 — Identify the site and application
Confirm the project location, roof or ground type, coastal exposure, and whether the installation is residential, commercial, industrial, utility-scale, or a solar carport.
Step 2 — Collect module and layout information
Provide module dimensions, frame thickness, module quantity, portrait or landscape orientation, row spacing, and mounting layout.
Step 3 — Confirm structural design criteria
Establish the applicable design code, wind and snow loads, terrain and exposure conditions, roof capacity, support spacing, and foundation requirements.
Step 4 — Specify materials and finishes
Confirm aluminum alloy and temper, steel grade where applicable, surface treatment, fastener material, and any project-specific corrosion requirements.
Step 5 — Verify compatibility and documentation
Review component drawings, connection details, installation instructions, structural calculations, applicable test reports, and required compliance documentation.
For customized aluminum mounting rails or brackets, provide a CAD drawing or dimensioned technical drawing whenever possible. The alloy, temper, cross-section, wall thickness, length, tolerance, and surface finish all influence the final specification and quotation.
7. Engineering Standards and Structural Reliability
Solar mounting hardware must be selected as part of an engineered system. A product’s material strength or advertised load figure alone does not demonstrate that the complete installation is suitable for a particular site.
The following references are useful starting points for project teams.
| Standard or technical resource | Relevance to PV projects |
| IEC 62548-1:2023 + AMD1:2025 | PV array design requirements, including mounting-structure provisions and electrical safety considerations. |
| UL 2703 | Evaluation of PV mounting and retention systems, including relevant grounding and bonding functions, for specified modules and configurations. |
| ASCE 7 design guides | Guidance on structural loading provisions, including wind and snow loads, for projects using the applicable ASCE design standard. |
| NREL — Solar Photovoltaics in Severe Weather | Technical research on PV system resilience and how mounting and clamping configurations affect performance under severe weather. |
Always verify the edition adopted by the project jurisdiction, the scope of the applicable standard, and any local building or electrical code requirements. A standard’s existence does not mean that every component from every manufacturer is certified to it.
Why wind and snow loads matter
Wind can create uplift, downward pressure, shear, and forces at mounting connections. Snow can add sustained loads, while uneven snow accumulation may create additional design demands.
The actual forces depend on site location, building height, roof geometry, array position, terrain, module tilt, and the applicable design methodology. NREL’s technical guidance specifically notes that wind loading depends on factors such as building location, exposure, collector orientation, and roof-zone placement.
For this reason, avoid choosing rails, brackets, or clamps solely because a product page lists a high wind speed or snow-load value. Confirm the basis of the stated rating, the test or calculation method, and whether it applies to the complete assembly or just an individual component.
8. Common Solar Mounting Component Selection Mistakes
Avoid these frequent procurement and installation problems:
- Mixing incompatible components: Similar-looking rails, clamps, and connectors may have different dimensions or fastening interfaces.
- Ignoring module clamping requirements: The correct clamp height and position must match the module manufacturer’s instructions.
- Selecting brackets without checking the roof structure: Roof-sheet thickness, purlin or rafter locations, and fastener capacity all matter.
- Treating a component rating as a system rating: Individual component performance does not automatically establish complete-system capacity.
- Overlooking corrosion exposure: Coastal environments and dissimilar-metal connections may require additional material and finish checks.
- Leaving out essential accessories: Rail splices, fasteners, grounding components, and cable management can affect installation readiness.
- Requesting a quotation without drawings or quantities: Incomplete specifications can lead to incorrect assumptions, revisions, and delays.
A coordinated mounting solution helps buyers reduce interface risks and gives installers a clearer bill of materials before the project reaches the construction stage.
9. Why Work with ALV for Solar Mounting Components?
ALV Solar supplies photovoltaic mounting solutions for rooftop and ground-mounted projects, with product options that also support solar carport applications. Its range includes aluminum rails, mid and end clamps, roof attachments, rail connectors, and other mounting accessories.
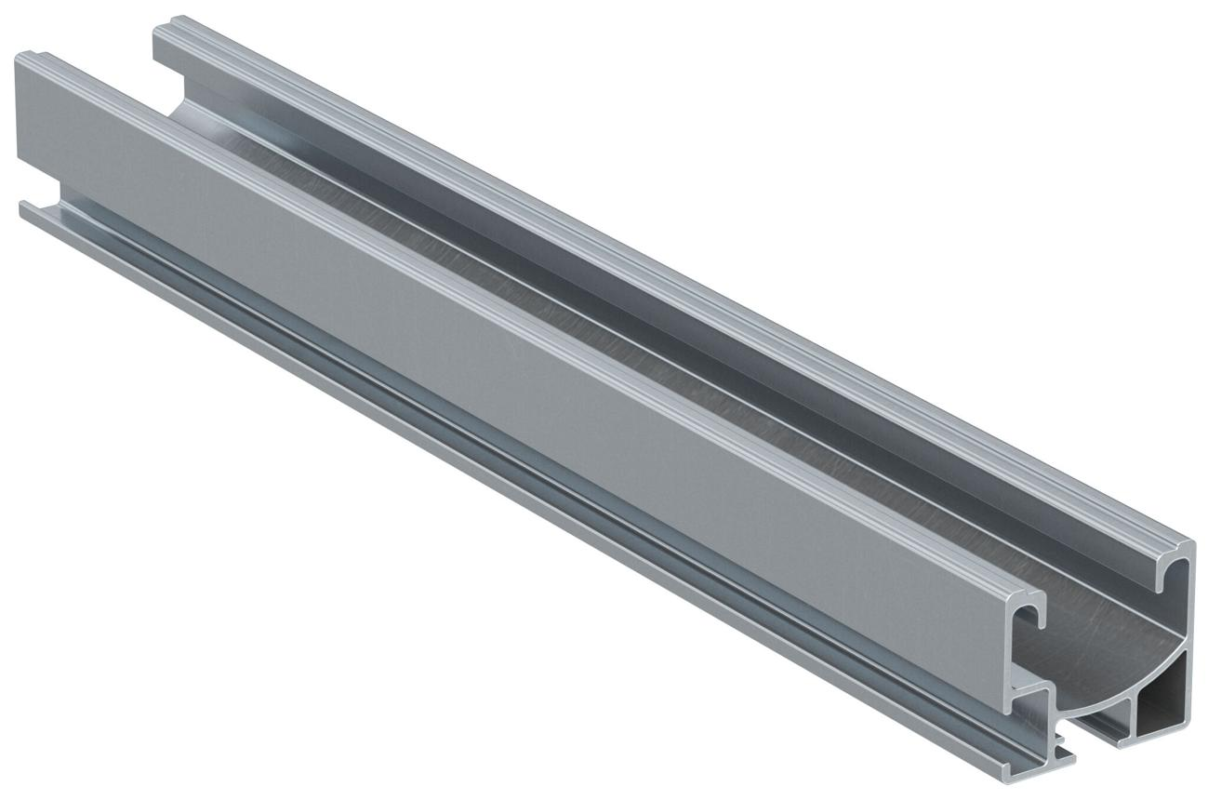
Aluminum rails and profiles
Explore rail profiles and mounting extrusions for project-specific requirements. Custom profile inquiries should include a drawing or detailed dimensions.
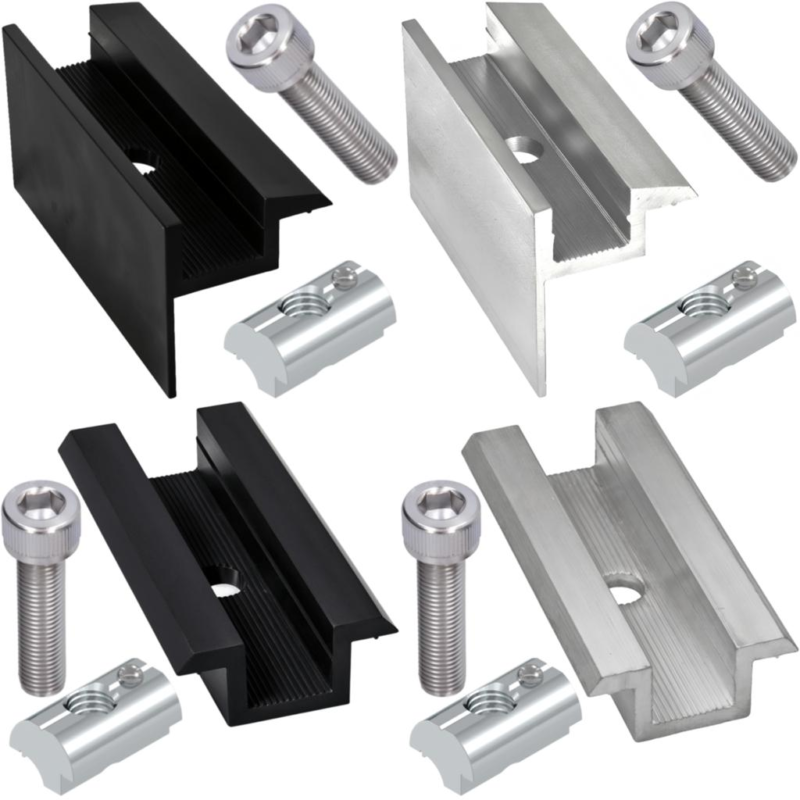
Clamps and connection accessories
Source matching mid clamps, end clamps, rail splices, fasteners, and related components for your specified mounting configuration.
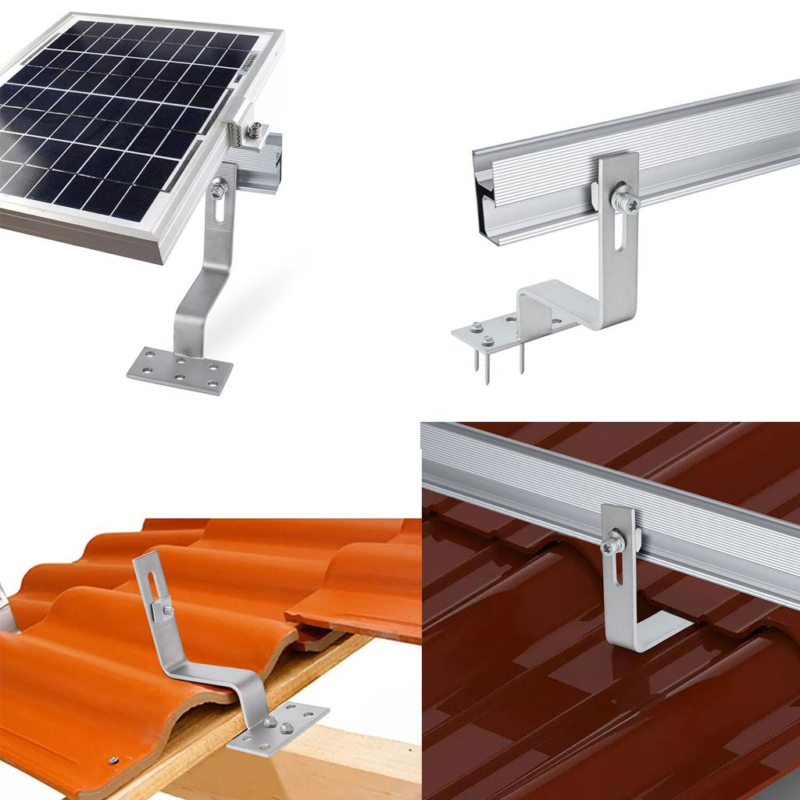
Roof mounting solutions
Review attachment options for compatible metal and tile roofs, with selection based on roof geometry and project requirements.
ALV’s website provides product categories and mounting-system options for buyers to review. Start with the ALV Solar Mounting Systems overview or browse the rail and clamp product categories.
For EPC contractors, distributors, and OEM buyers, the most useful first step is to share the project specifications. This allows the supplier to evaluate product compatibility, customization requirements, and the scope of the quotation.
10. Frequently Asked Questions
1. What are the main components of a solar mounting system?
The main components generally include mounting rails, mid clamps, end clamps, roof or ground brackets, rail splices, fasteners, and applicable grounding and cable-management accessories. The exact bill of materials depends on the installation design.
2. What is the difference between a solar rail and a mounting bracket?
A rail supports the PV modules and distributes their loads to the support points. A mounting bracket connects the rail to the roof structure, ground support frame, or another designated structural element.
3. Are aluminum solar mounting rails better than steel rails?
Neither material is universally better. Aluminum is often favored for its lower weight and extrusion flexibility, while galvanized steel may be suitable for larger structural members and ground-mount applications. The best choice depends on engineering requirements, corrosion exposure, installation, and project cost.
4. Can I use the same clamps for different solar panels?
Not necessarily. Clamp selection depends on module frame thickness, frame geometry, approved clamping zones, rail compatibility, and the mounting system’s evaluated configuration. Confirm compatibility before ordering.
5. Which mounting brackets are suitable for metal roofs?
Depending on the roof profile and supporting structure, suitable options may include standing-seam clamps, trapezoidal-roof brackets, and L-feet used with appropriate fasteners. Roof drawings and attachment details are necessary to determine the correct solution.
6. How do I know whether a solar mounting system can withstand strong winds?
Use the applicable local design code and project-specific wind criteria. Verify the complete load path from the modules through the clamps, rails, brackets, connections, and supporting structure. A single advertised wind-speed figure is not sufficient evidence of suitability for every project.
7. What information should I provide to request a solar mounting quotation?
Provide the project location, roof or ground type, module model and dimensions, module quantity, mounting layout, wind and snow design criteria, preferred material and finish, and estimated delivery schedule. Drawings and photographs can help clarify the installation conditions.
8. Can solar mounting rails be customized?
Yes, subject to the manufacturer’s capabilities and the required engineering and production specifications. For custom aluminum extrusions, provide a CAD drawing or dimensioned cross-section, alloy and temper requirements, length, tolerance, surface finish, and estimated quantity.
Conclusion: Choose Compatible Components, Not Just Individual Products
Solar mounting rails, clamps, and brackets must work together to provide a reliable load path, secure module retention, and suitable environmental durability. The right solution depends on the project site, roof or foundation design, module specifications, applicable standards, and installation requirements.
For solar installers, EPC contractors, distributors, and project developers, reviewing the complete component system before procurement can help reduce compatibility issues and improve project readiness.
Looking for solar mounting rails, clamps, brackets, or customized aluminum profiles? Contact ALV Solar with your project drawings and specifications to discuss a suitable mounting solution.
Explore ALV Solar Mounting Systems