

Çatıya Güneş Paneli Montaj Süreci – Saha Varışından Kabulüne Kadar 7 Adım

giriiş
Roof solar mounting installation is one of the most critical stages of any PV project. The quality of installation directly affects system safety and roof waterproofing. This article outlines the complete process in 7 steps, from site arrival to final acceptance, so you know exactly what to expect during construction.
Step 1: Site Preparation and Safety Setup
Upon arrival, the installation team carries out site inspection and safety arrangements:
- Verify roof type (tile, metal, or concrete)
- Re‑check roof load‑bearing capacity
- Set up safety equipment (harnesses, guardrails)
- Inventory materials and tools
Safety note – Working on a roof is working at height. Safety harnesses and lifelines are mandatory.
Step 2: Measurement and Layout
Using a total station or laser distance measurer, precisely mark each mounting point on the roof:
- Determine horizontal and vertical spacing according to the design drawings
- Mark positions for posts or hooks
- Re‑check diagonal dimensions to ensure squareness
Measurement errors should be controlled within ±5mm; otherwise, subsequent rail installation will be misaligned.
Step 3: Install Bases/Hooks
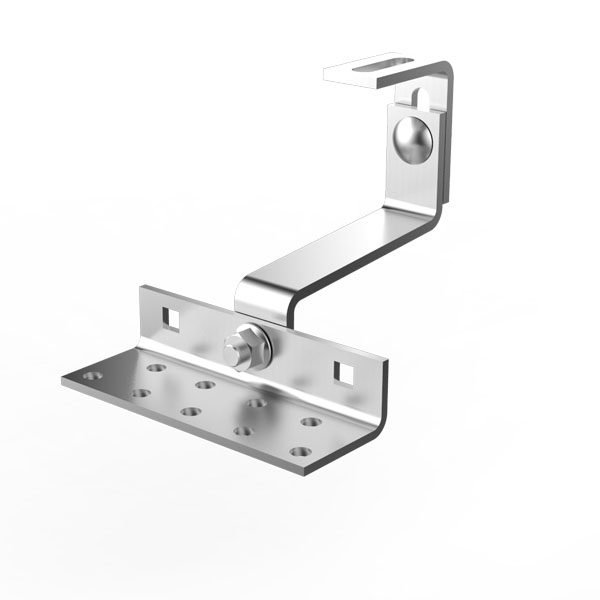
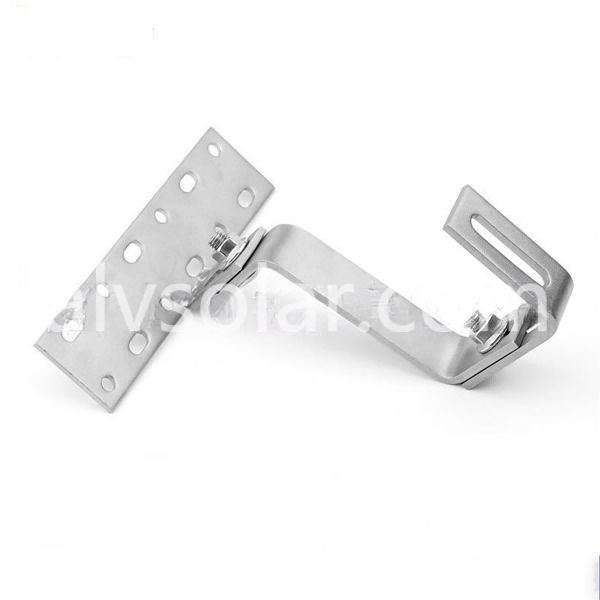
Install different bases according to roof type:
| Çatı Tipi | Installation Method | Key Points |
|---|---|---|
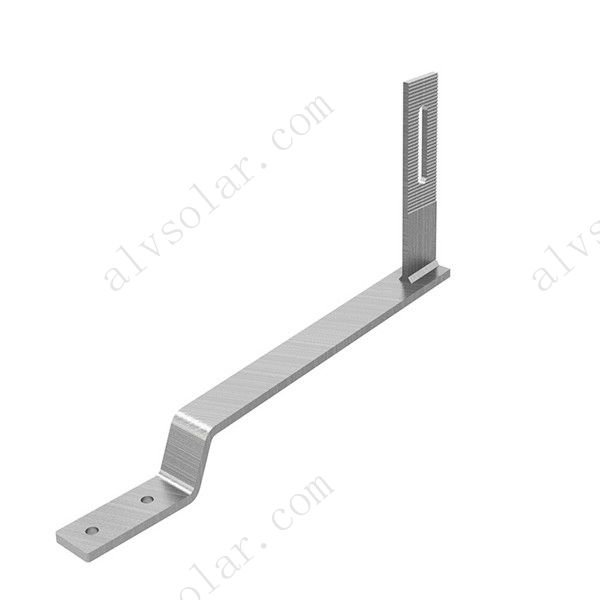
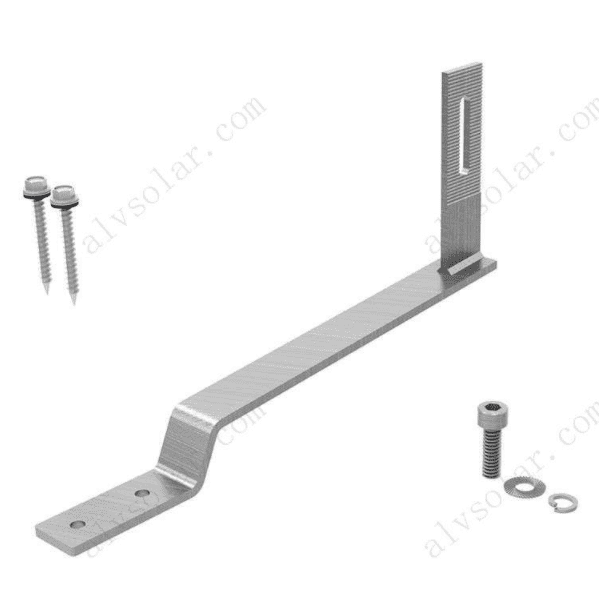
| Tile roof | Hooks fixed to rafters | Precise tile cutting; waterproofing is critical |
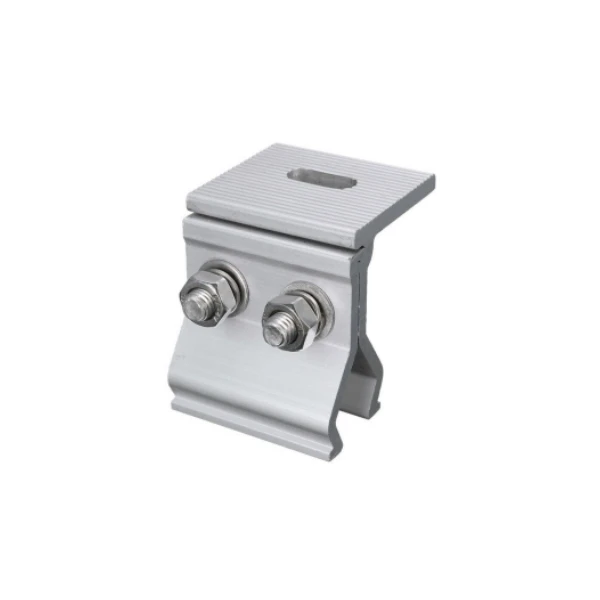
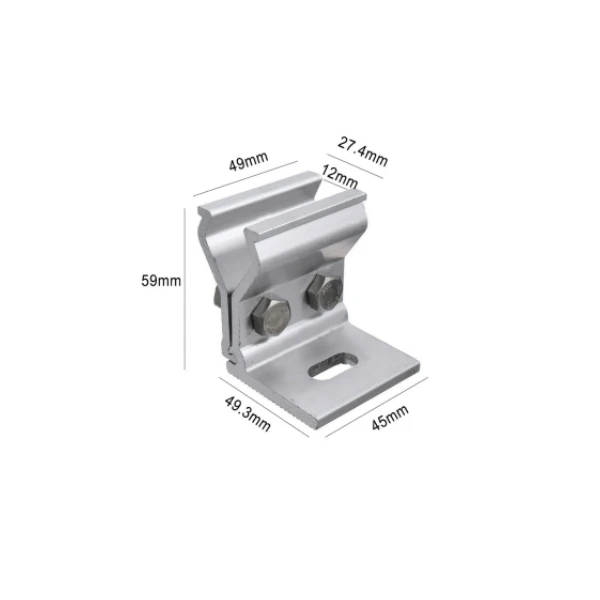
| Metal roof | Clamps fastened to ribs | Add rubber pads inside clamps for anti‑slip |
| Concrete flat roof | Expansion bolts | Drilling depth must meet specifications |
Waterproofing – An additional waterproof layer must be applied at each hook point, sealed with weather‑resistant silicone sealant.
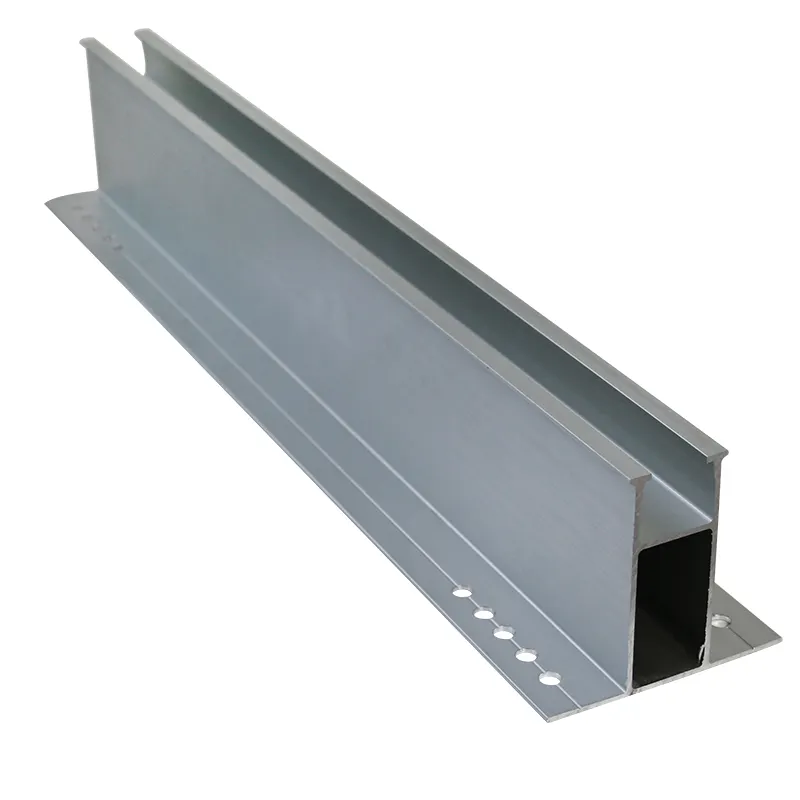
Step 4: Install Posts and Rails
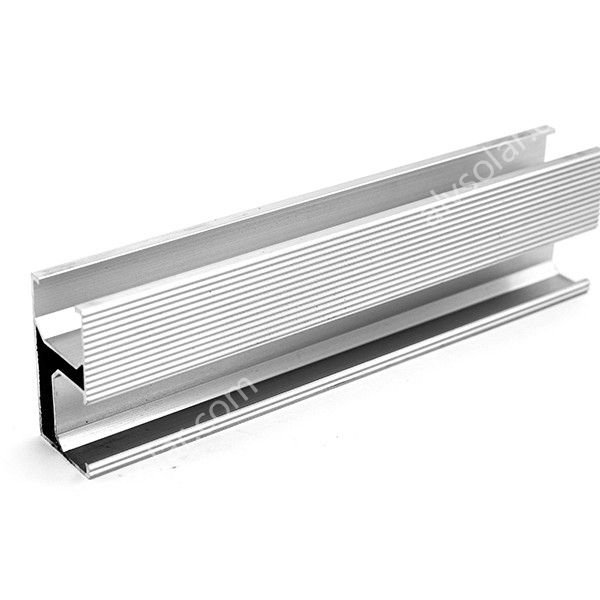
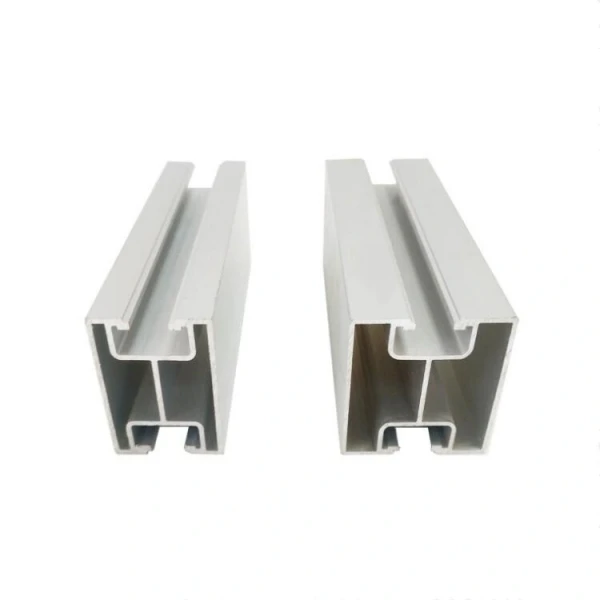
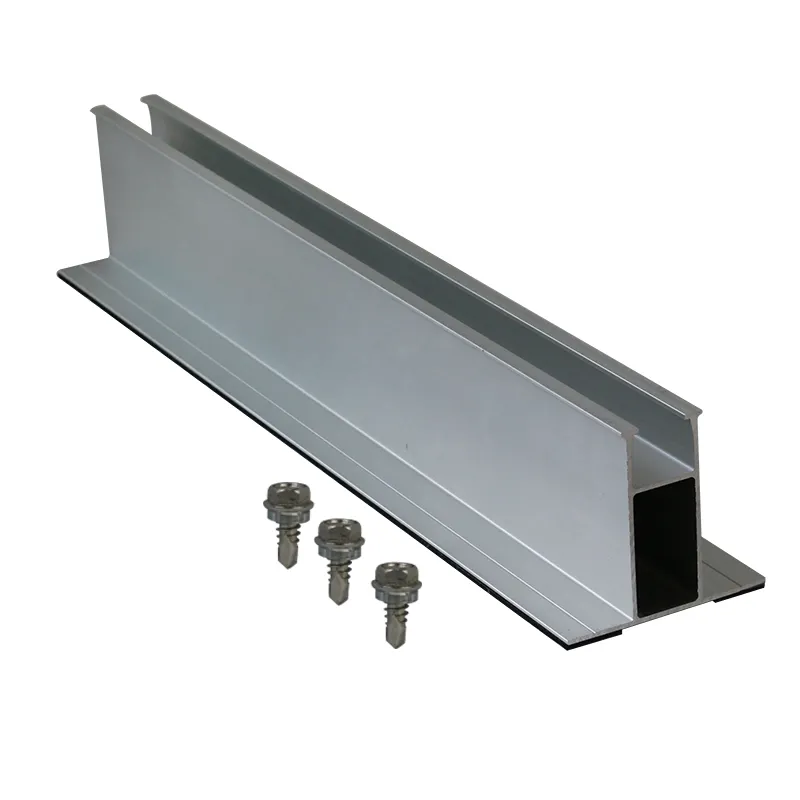
After the bases are secured, install posts and horizontal rails in sequence:
- Secure posts vertically onto bases (calibrate with a spirit level)
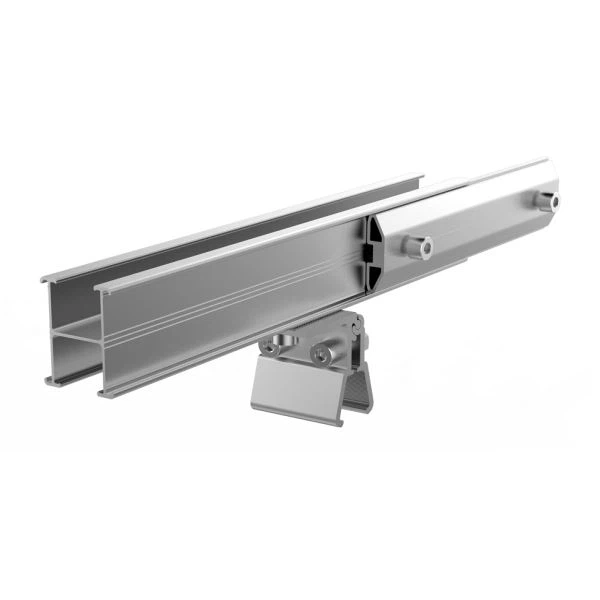
- Install horizontal rails, splicing with connectors
- Adjust rail flatness – deviation should be ≤5mm per 10m
Rail flatness directly affects panel installation quality and stress distribution.
Step 5: Install Panel Clamps
After the rails are in place, install the module clamps:
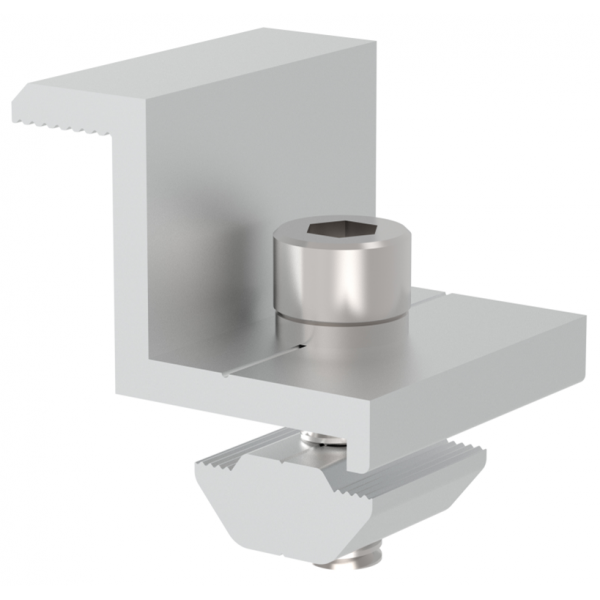
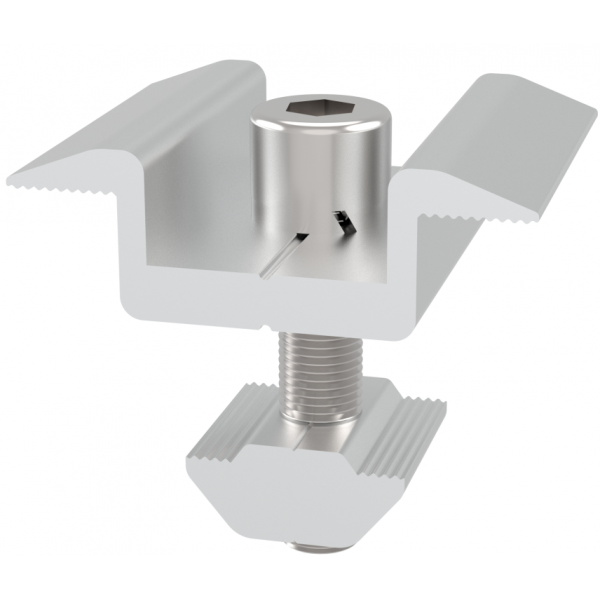
- Use end clamps for the first and last panels
- Use mid clamps for panels in between
- Add rubber pads between clamps and panels to prevent hard contact
Clamp tightening torque must meet design specifications – too loose and panels will shift; too tight and glass may develop micro‑cracks.
Step 6: Grounding System Installation
Grounding the mounting structure is a mandatory safety measure:
- Connect all sections of the mount with ground wires to form an equipotential bond
- Connect the ground wire to the building’s existing grounding network
- Test ground resistance – must be less than 4Ω
Poor grounding can damage inverters during lightning strikes or even cause fires.
Step 7: Acceptance Inspection
After installation is complete, conduct a final inspection point by point:
- All bolts properly tightened
- Rail flatness meets specification
- No leaks at waterproofing points
- Ground resistance passed
- No scratches or damage on panels
- Safety equipment removed, site cleaned up
Summary
Roof mount installation may appear simple, but each step has technical requirements. Choose an experienced installation team and follow the 7 steps above – your rooftop PV system will operate safely and stably for 25 years. If you’re considering installation, save this article for reference.