Common Solar Mounting Installation Mistakes and How to Avoid Them
Introduction
Solar mounting systems may seem simple, but the details of installation determine the safety of the entire PV system. Many systems develop loose panels, rust, or even collapse after 3–5 years of operation – and the root cause is often errors made during installation. This article covers the eight most common installation mistakes and provides the correct solutions.
1. Common Mistakes and Correct Practices
Mistake 1: Not Assessing Roof Load‑Bearing Capacity
Signs : Installing according to drawings without calculating actual roof capacity.
Consequences : Structural damage, leaks, and in severe cases, cracked slabs or collapse.
Correct Practice :
- Have a structural engineer verify roof load capacity
- For older buildings, consider reinforcement before installation
- For flat‑roof ballasted systems, calculate the load per square meter
Mistake 2: Insufficient Foundation Strength (Ground‑Mount)
Signs : Low concrete grade, insufficient curing time, insufficient pile depth.
Consequences : Cracking, settlement, tilting – overall instability of the mounting structure.
Correct Practice :
- Concrete grade not lower than C25
- Curing time at least 7 days
- Pile depth calculated based on soil conditions – generally not less than 1.5m
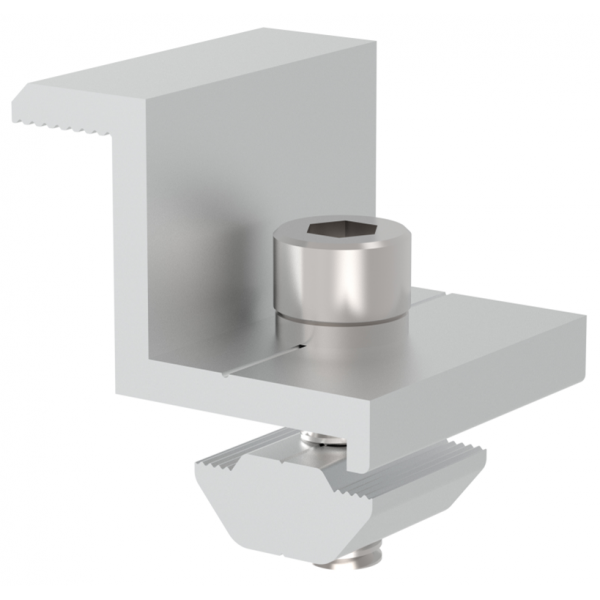
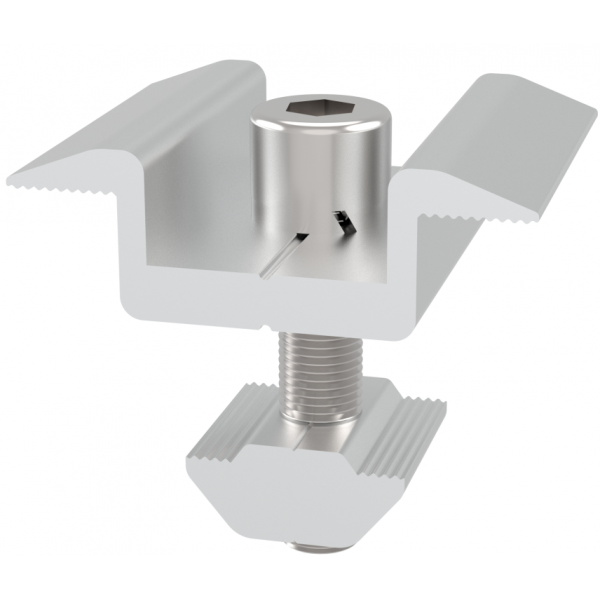
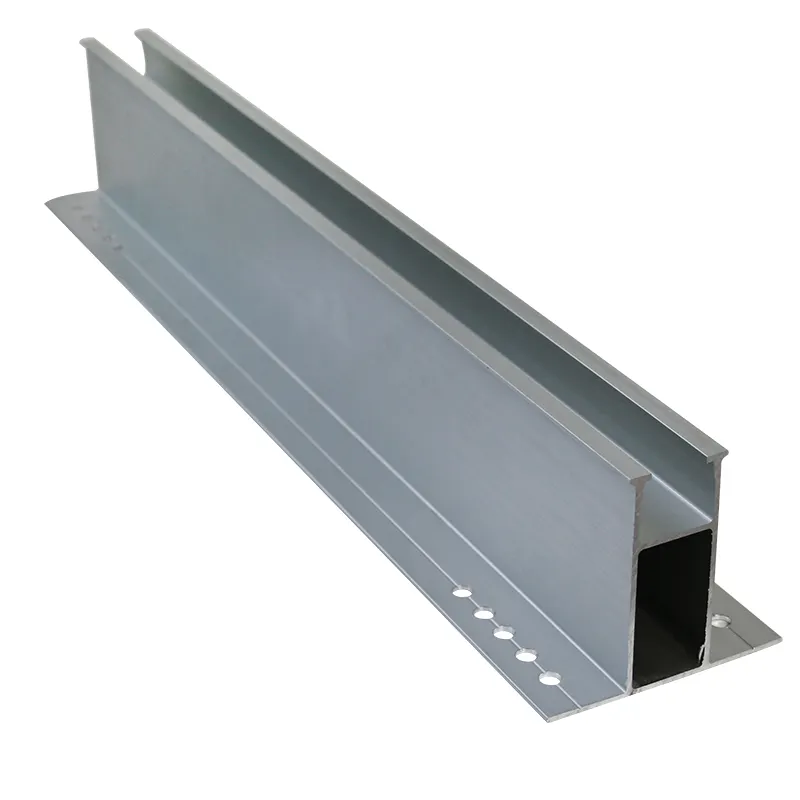
Mistake 3: Incorrect Bolt Torque
Signs : Bolts either too loose or over‑tightened, tightened by feel.
Consequences : Looseness causes movement; over‑tightening damages threads or breaks bolts.
Correct Practice :
- Use a torque wrench and tighten to design values
- Typical torque: M8 bolts 15–20 N·m, M10 bolts 30–40 N·m
- Check and mark each bolt after installation
Mistake 4: Neglecting Corrosion Protection
Signs : Cut ends of galvanized parts left uncoated; different metals in direct contact.
Consequences : Rust appears at cut ends within 3–5 years; galvanic corrosion accelerates damage.
Correct Practice :
- Apply zinc‑rich paint to all cut edges
- Use insulating gaskets between aluminum and steel
- Add extra protective coating for coastal projects
Mistake 5: Poor Waterproofing (Roof Mounts)
Signs : Simple sealant application at hook points without an additional waterproof layer.
Consequences : Roof leaks that are difficult and expensive to repair.
Correct Practice :
- Install an additional waterproof layer under each hook point
- Use weather‑resistant silicone structural sealant
- For tile roofs, use dedicated waterproof gaskets
Mistake 6: Ignoring Thermal Expansion and Contraction
Signs : No expansion gaps between rails and connectors.
Consequences : Temperature changes create stress concentration, loosening bolts or deforming connectors.
Correct Practice :
- Provide expansion gaps every 6–8m on long rails
- Use slotted connectors
- Avoid completely rigid long‑span connections
Mistake 7: Improper Electrical Grounding
Signs : Mounting system not grounded or grounding unreliable.
Consequences : Lightning current cannot be dissipated, damaging equipment or even causing fire.
Correct Practice :
- Equipotential bonding of the entire metal mounting structure
- Ground resistance < 4Ω
- At least two grounding points per panel string
Mistake 8: No Maintenance Access
Signs : Panels packed too tightly without walkways.
Consequences : Cleaning and repairs become very difficult; stepping on panels causes micro‑cracks.
Correct Practice :
- Leave at least 500mm walkway between panel rows
- Reserve safe walkways at roof edges
- Provide service roads for large solar farms
2. Installation Acceptance Checklist
Before putting the system into service, check the following items:
Material Inspection
- Mounting model and specifications match the design
- Galvanized coating thickness ≥65μm (measured or certified)
- No deep scratches on aluminum surfaces
- All fasteners present and free of rust
Installation Quality
- Foundation position and elevation meet requirements
- Post verticality deviation ≤3mm per meter
- Rail flatness ≤5mm per 10m
- Bolts properly tightened (spot check)
- All cut edges repaired for corrosion protection
Waterproofing & Grounding
- No signs of leakage at roof hook points
- Mounting system grounding completed
- Ground resistance test passed
Safety Measures
- Maintenance walkways adequately provided
- Edge protection installed on roof perimeters
- Warning signs in place
3. Emergency Handling for Common Problems
| Problem | Symptoms | Emergency Action |
|---|---|---|
| Loose bolts | Panel shaking, unusual noise | Immediately tighten and add lock washers |
| Foundation settlement | Tilting posts, twisted panels | Temporary bracing, then recast foundation |
| Severe rust | Flaking galvanized coating, red rust | Remove rust and apply防腐 coating |
| Panel micro‑cracks | Visible cracks | Replace panel, check rail flatness |
| Roof leak | Water inside building | Re‑waterproof from above |
4. Summary
Solar mounting installation may seem simple, but every detail affects 25 years of safe system operation. Recommendations:
- Design phase – Have professionals verify loads
- Procurement phase – Choose components that meet national standards
- Construction phase – Install strictly according to drawings and keep inspection records
- Operation phase – Inspect the mounting structure every six months
Avoid these mistakes, and your PV system will truly be worry‑free and reliable.